
Last season Caroline, over on Un-Fancy, left me lusting after this amazing Madewell graphic tee. It was, just, I don’t know… perfect? Alas, it was not in my budget. And now that’s it sold out, no longer even in the realm of possibilities (unless it comes up in one of my ebay thrifting finds…)
Never fear! I do not give up that easily. I decided to take an old Target long sleeve tee I had and revitalize it with a similar graphic — hand stamped by me of course — and to tweak the design just a bit so I wasn’t blatantly stealing some awesome artist’s design. I decided on using the cities: Munich, Cologne, New York and Salzburg — all from my own travels. But as you can see, in one utter airhead moment [that I’ll never be able to explain] I stamped ‘Berlin’ in place of ‘Cologne’ — despite the fact of having never been there… #cueforeheadsmack
Let’s just go ahead and label this one #pregnancybrain… mmkay?
Onward ho!
DIY MADEWELL GRAPHIC TEE KNOCK-OFF [TUTORIAL]
STEP ONE
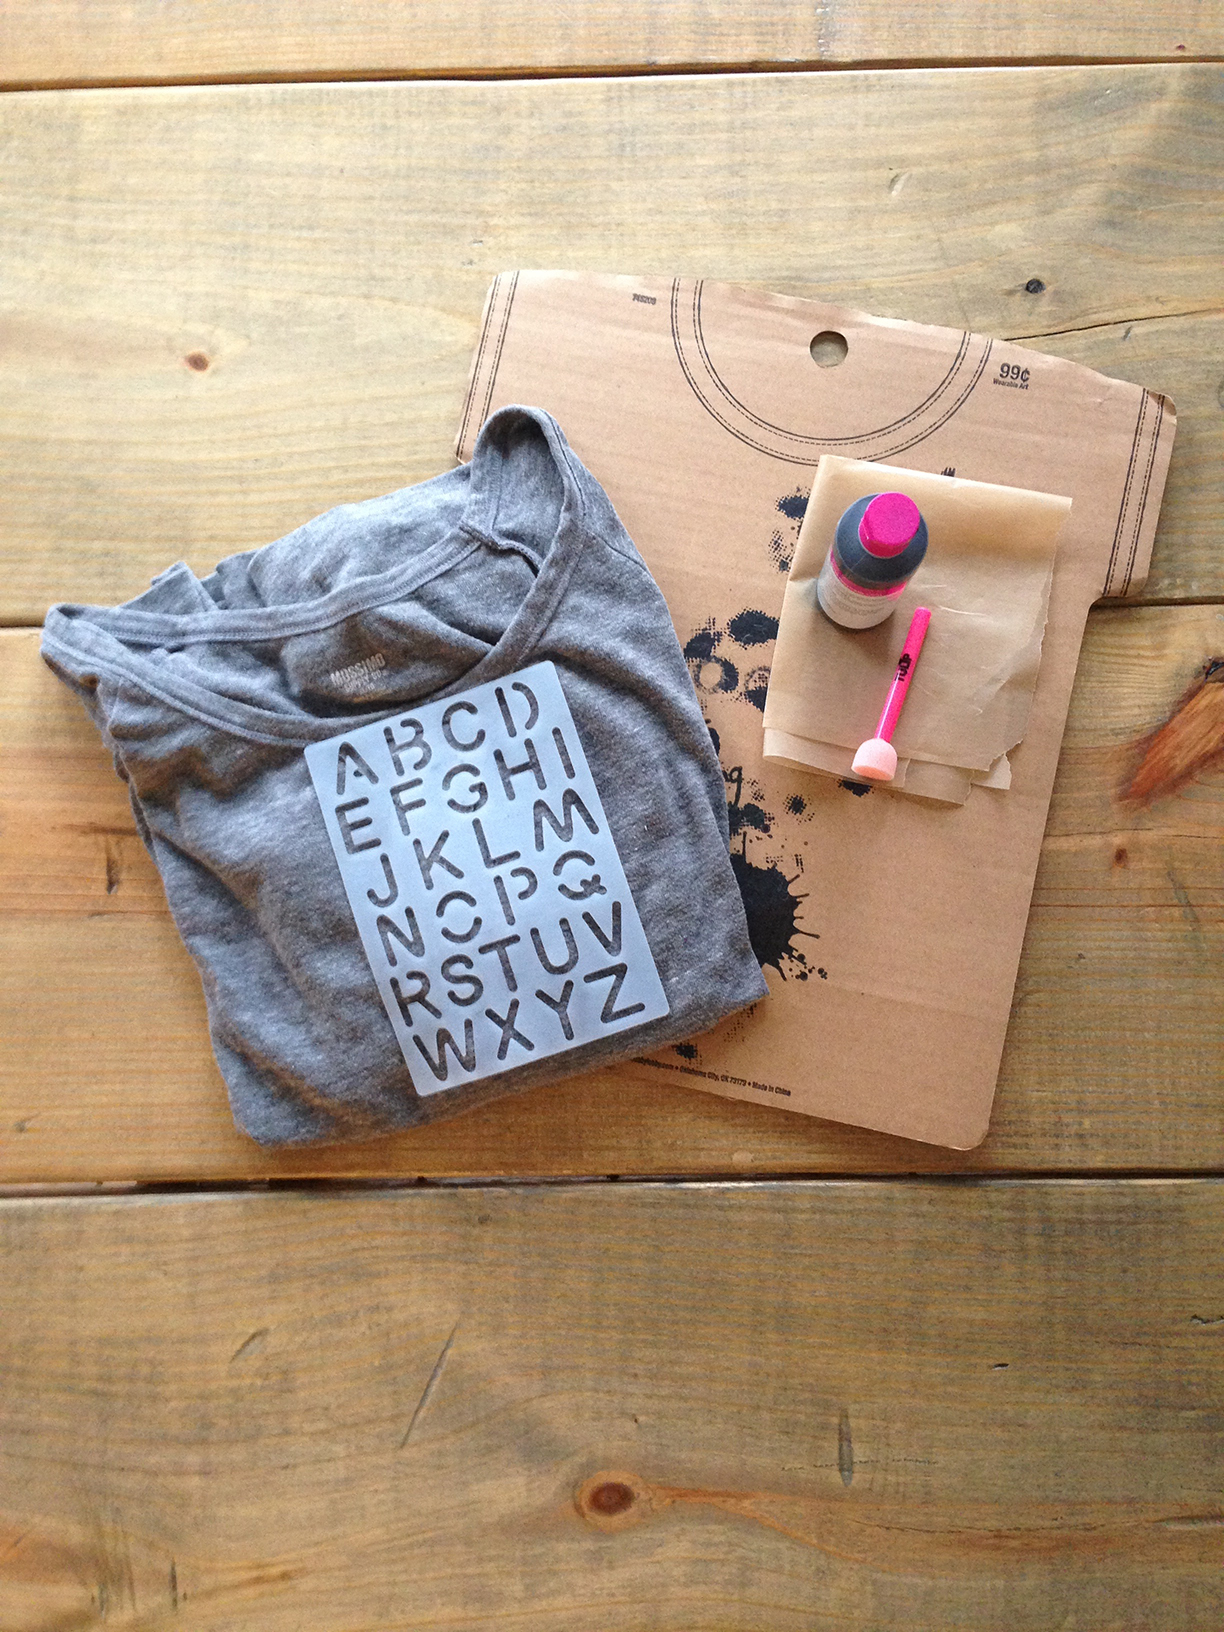
Collect your supplies:
-t-shirt (old or new)
-foam tip stamping brush
-fabric paint
-wax paper (something to dispense fabric paint onto)
-cardboard t-shirt form (or a scrap piece of card board)
STEP TWO
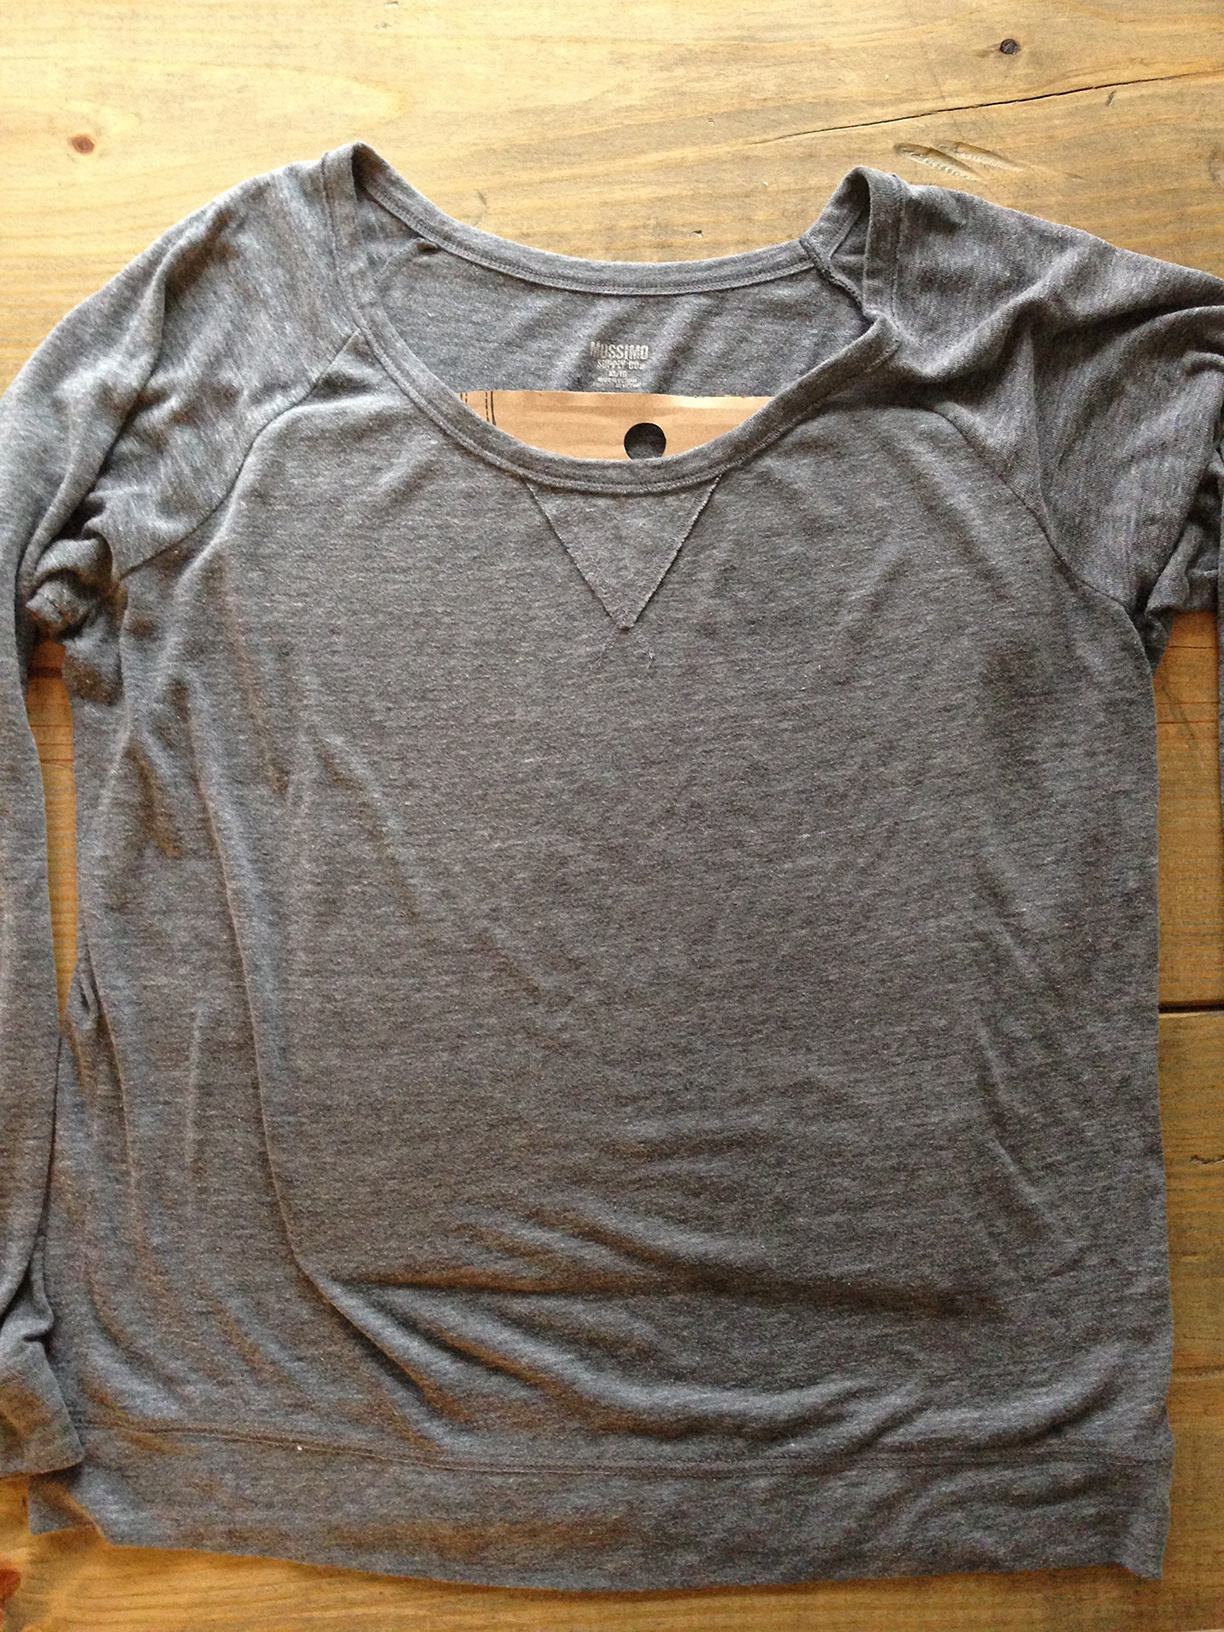
Stretch your shirt over top of your cardboard t-shirt form (mine is a child’s size, so there’s not really any stretching happening — but it will still do the trick of keeping the paint from bleeding through the shirt front!)
STEP THREE
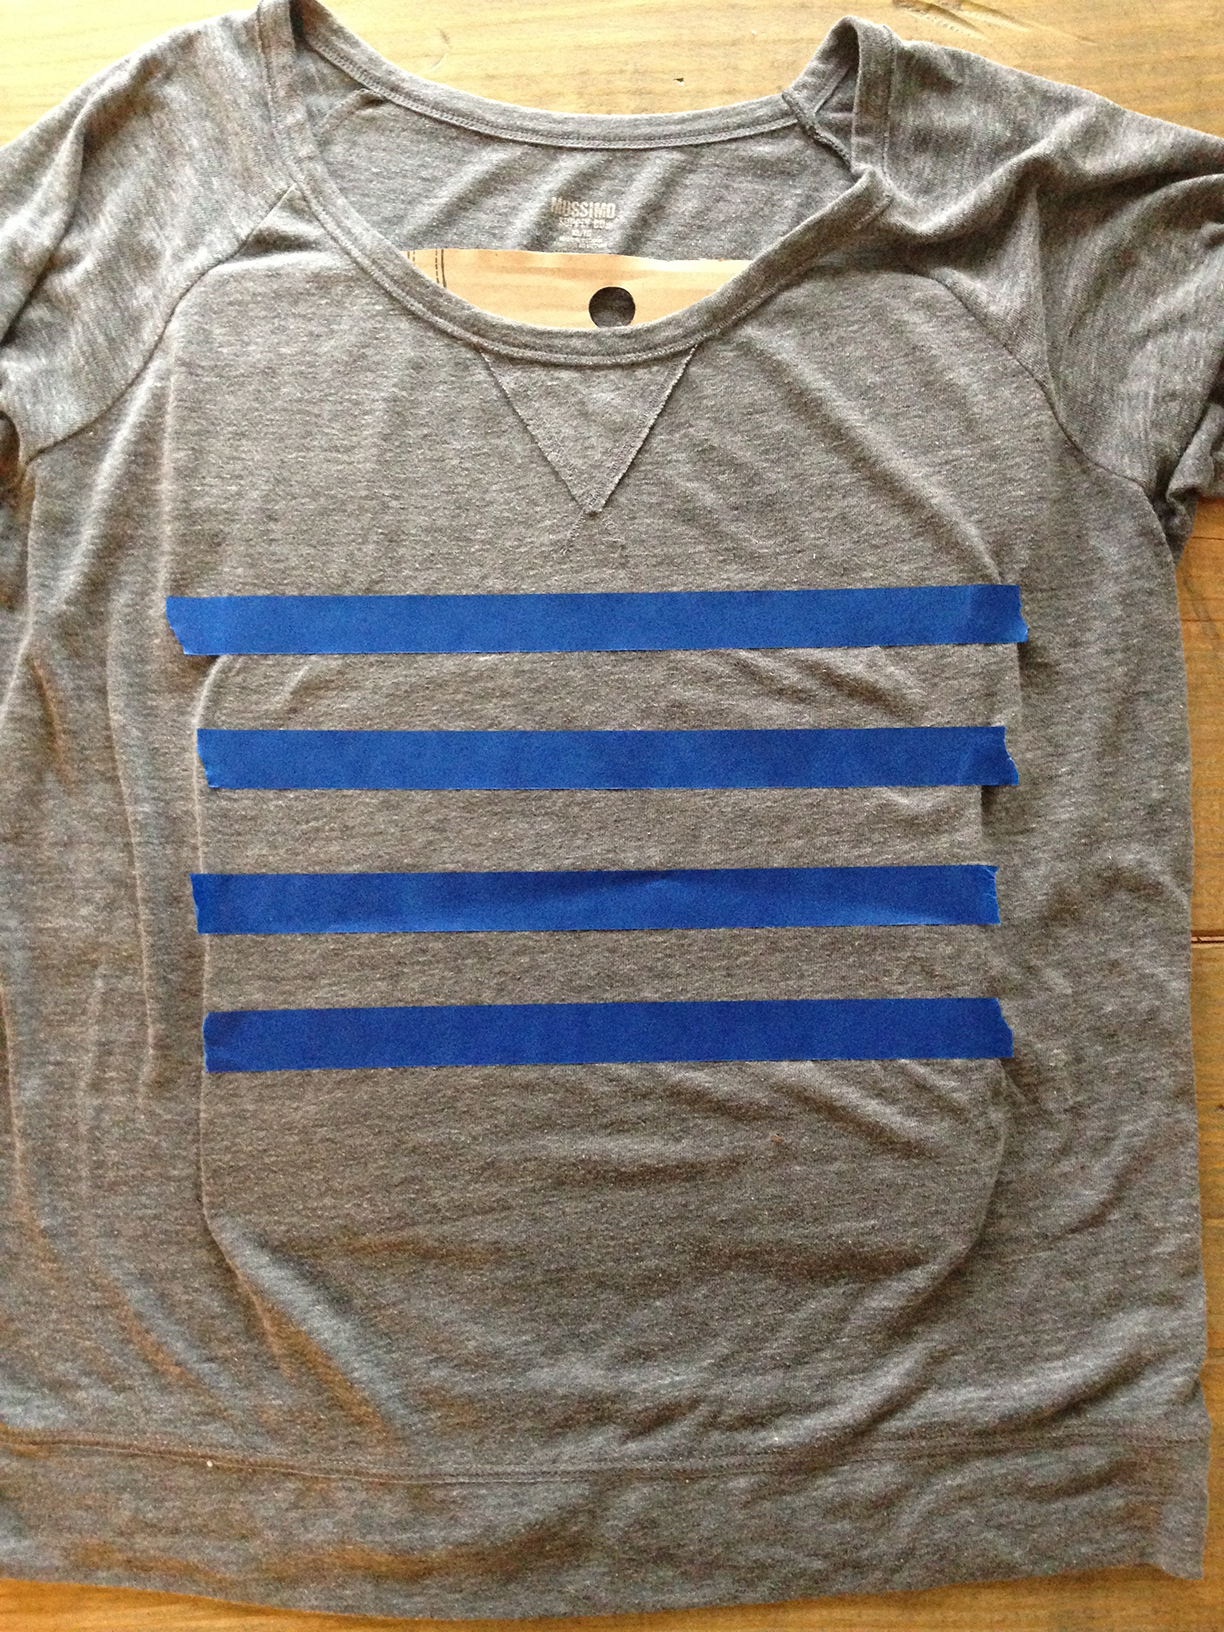
Map out your graphic/text location. I used painter’s tape so that I could keep the text of my graphic design level throughout the entire design.
STEP FOUR
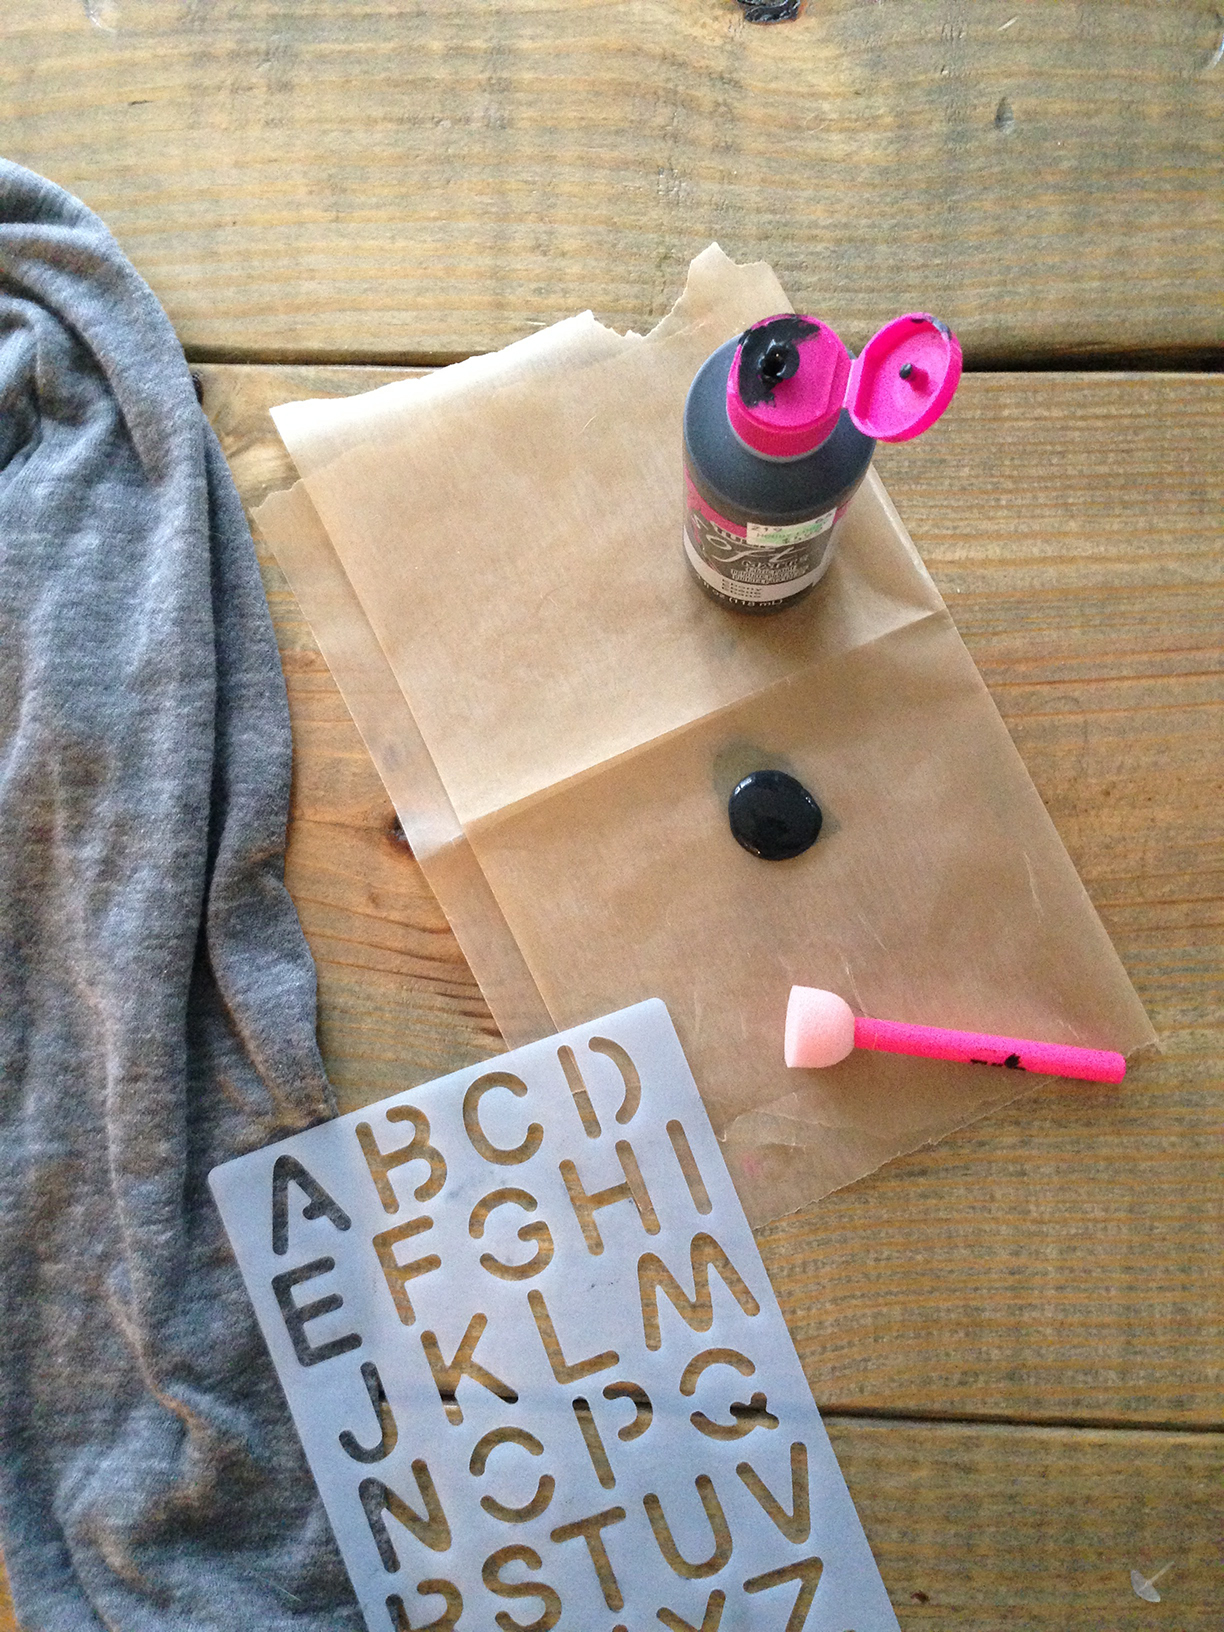
Prep your supplies — it’s show time!
STEP FIVE
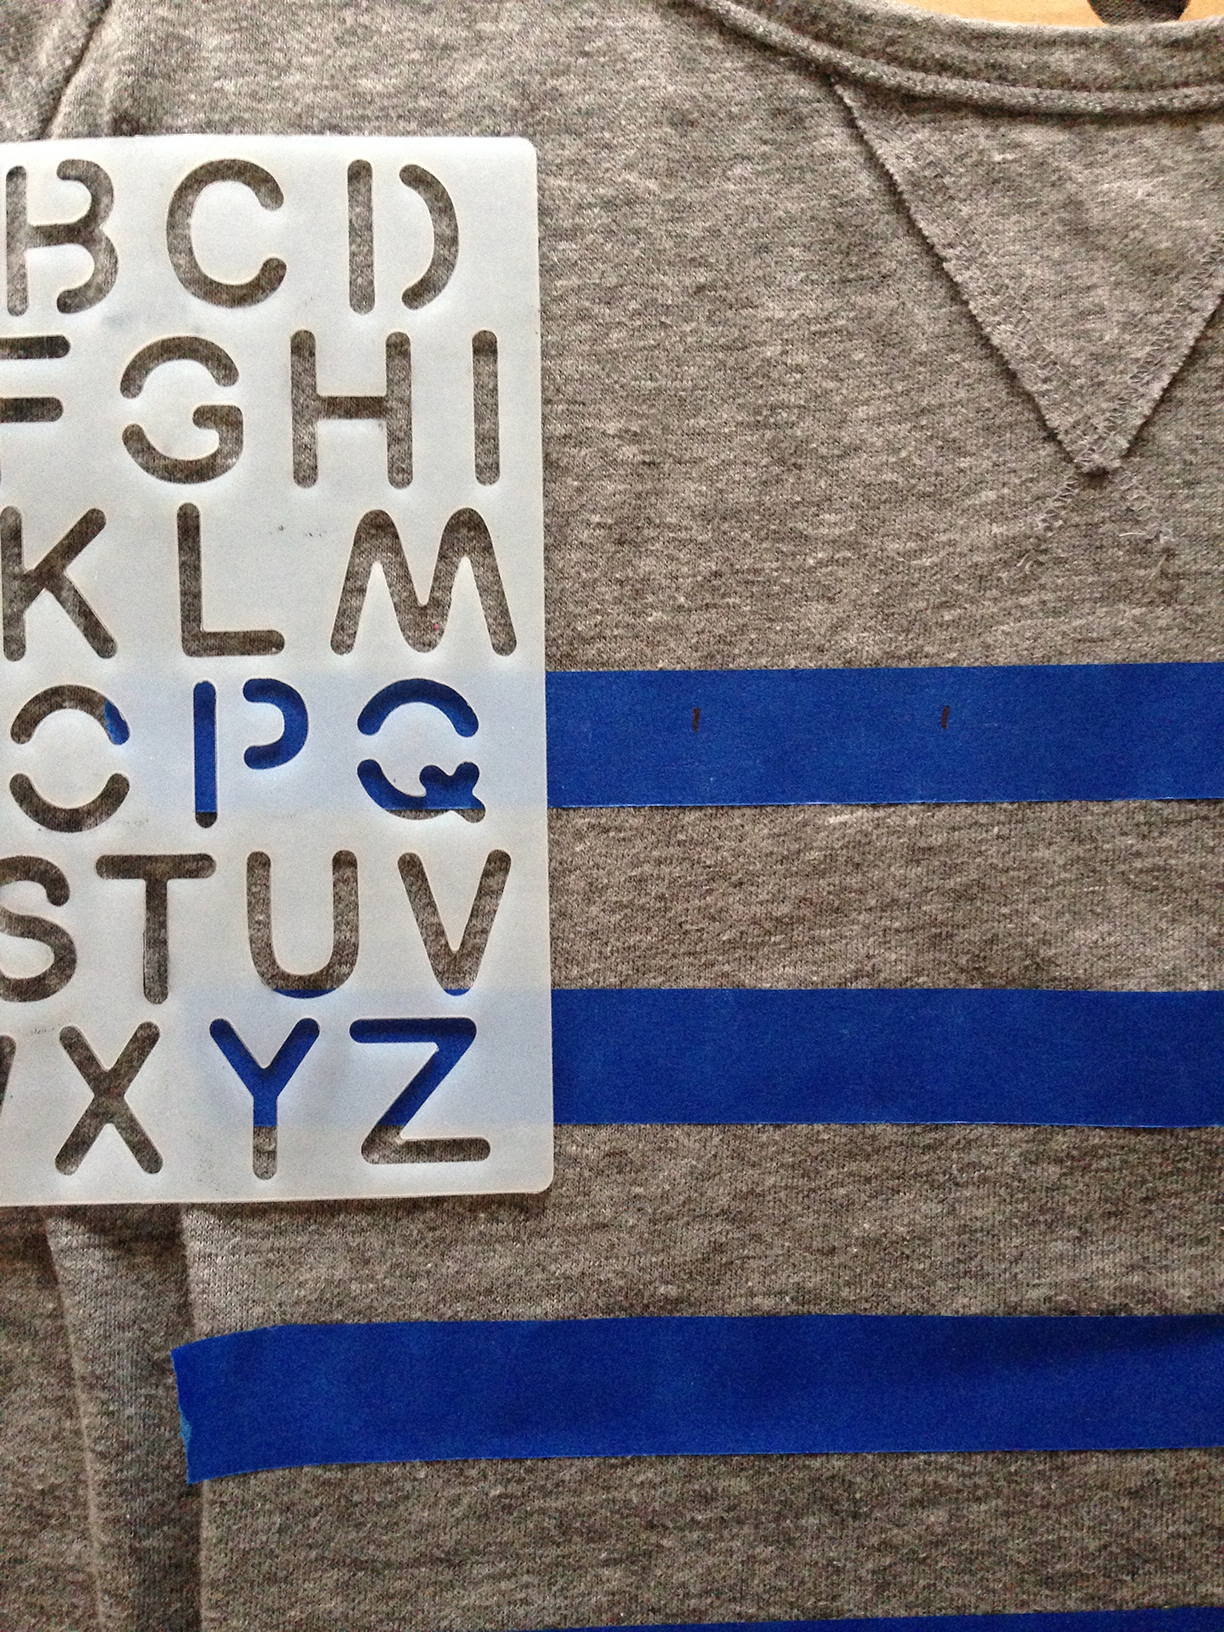 Place your design stencil where you will begin stamping. You can see in the photo above that I used a Sharpie to mark out the middle of where each letter would fall in my design so that I could keep relatively even spacing.
STEP SIX
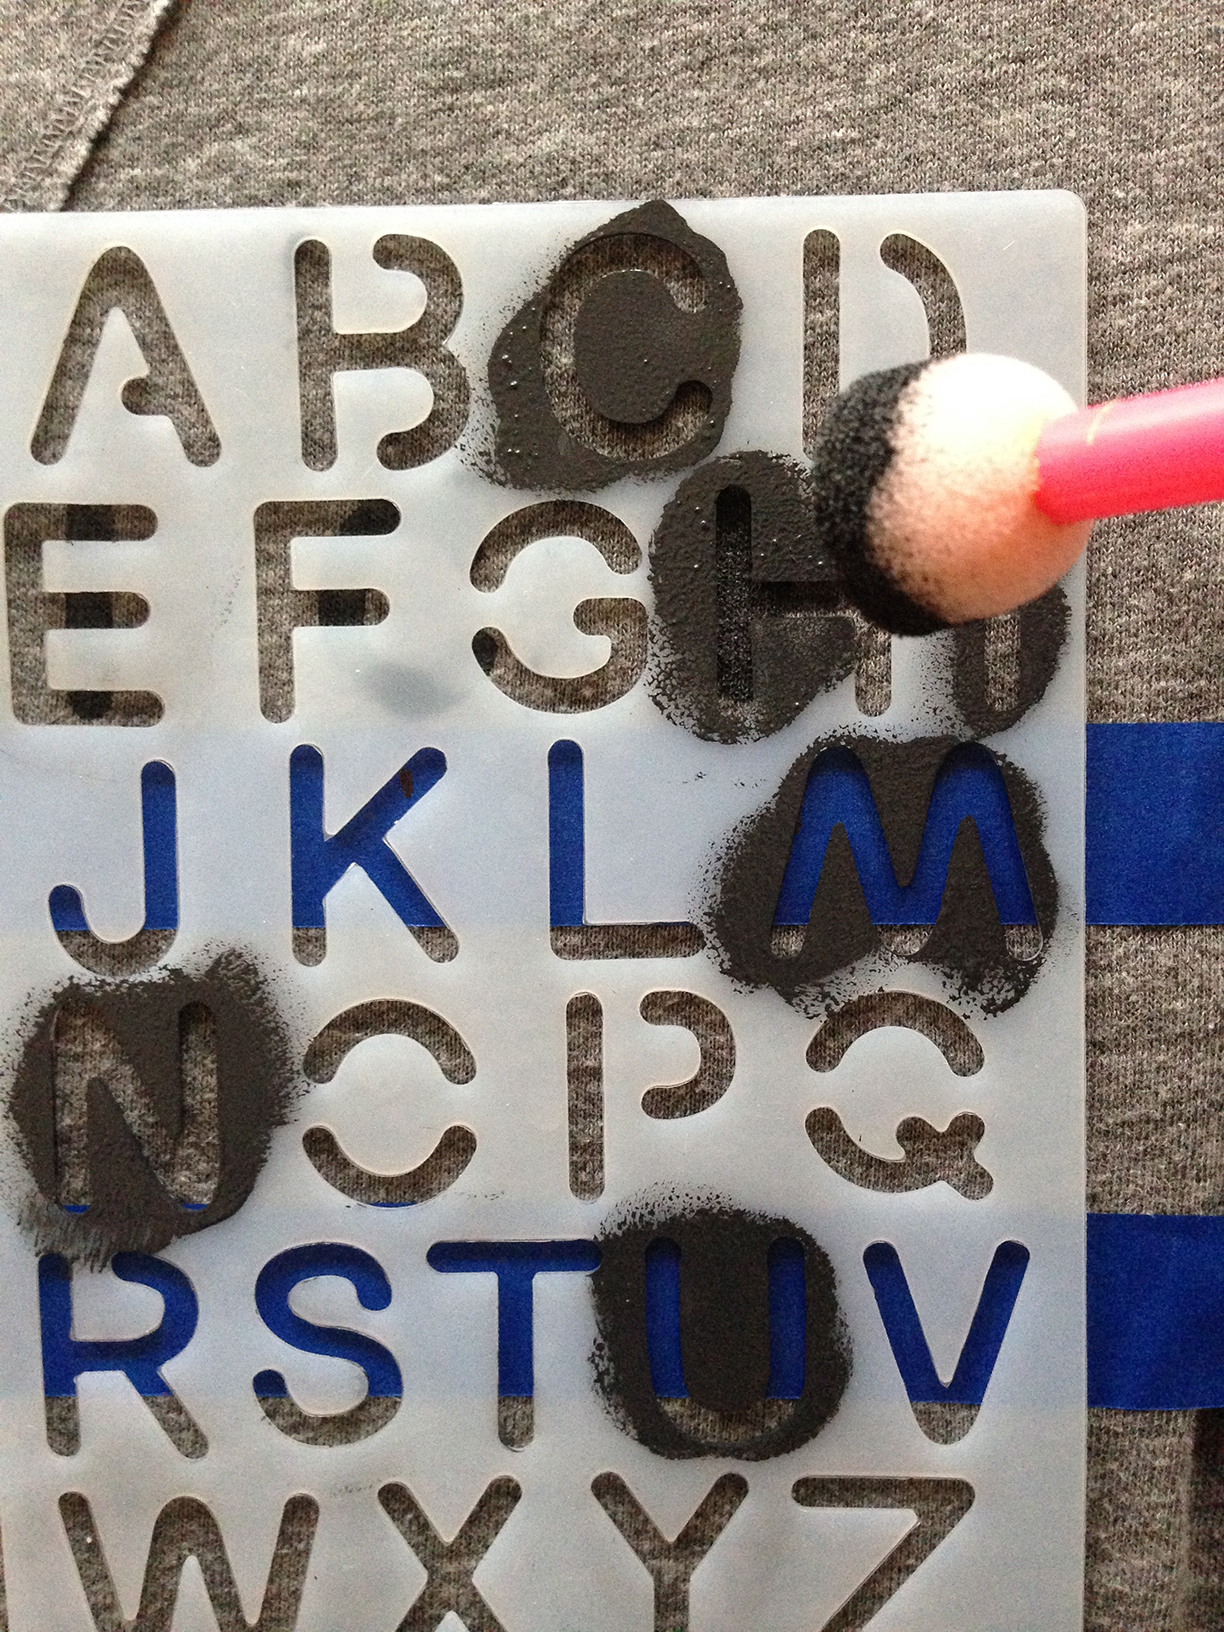
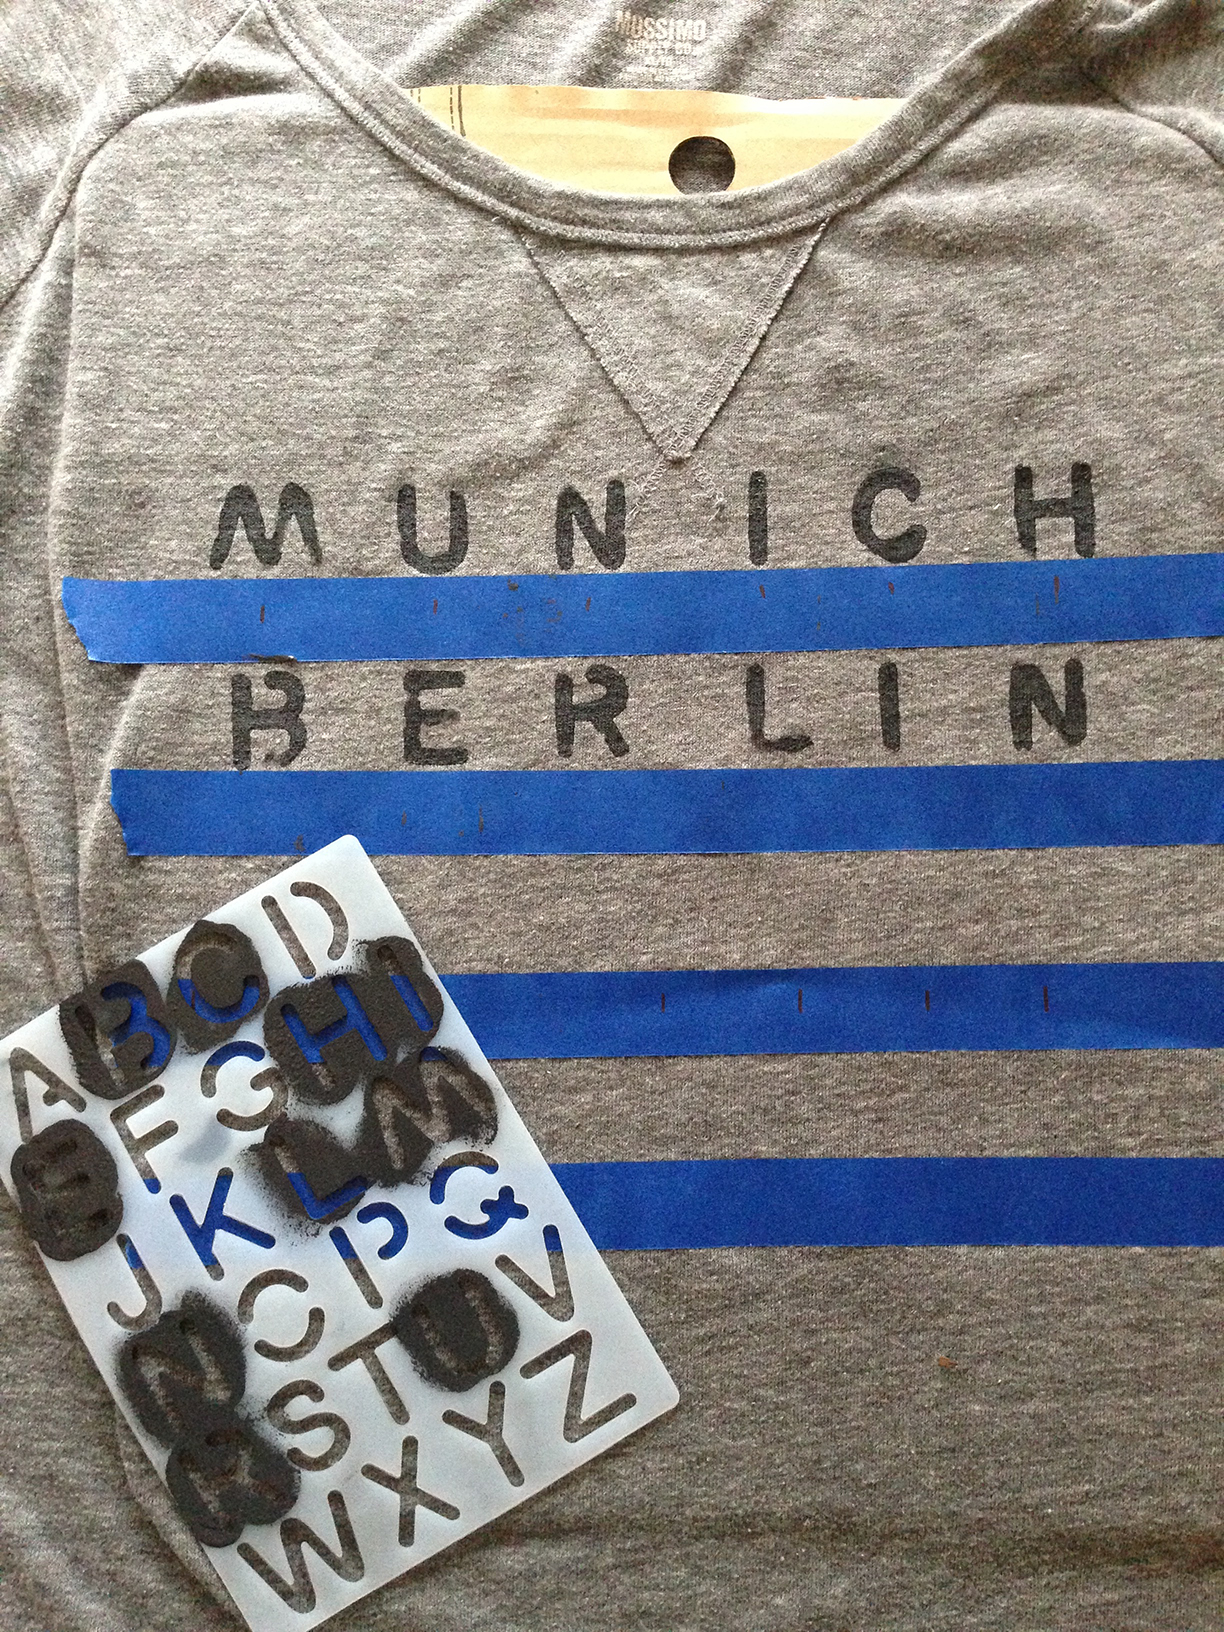 Stamp away!
TIPS
-Be sure to use even coverage when applying paint to your sponge brush, as well as even pressure when stamping sponge brush onto stencil/t-shirt.
-If your design uses a multi letter stencil like mine, it is a good idea to periodically clean off excess paint. Too much excess from previously used letters stand a chance of getting random paint marks on parts of your t-shirt you don’t want!
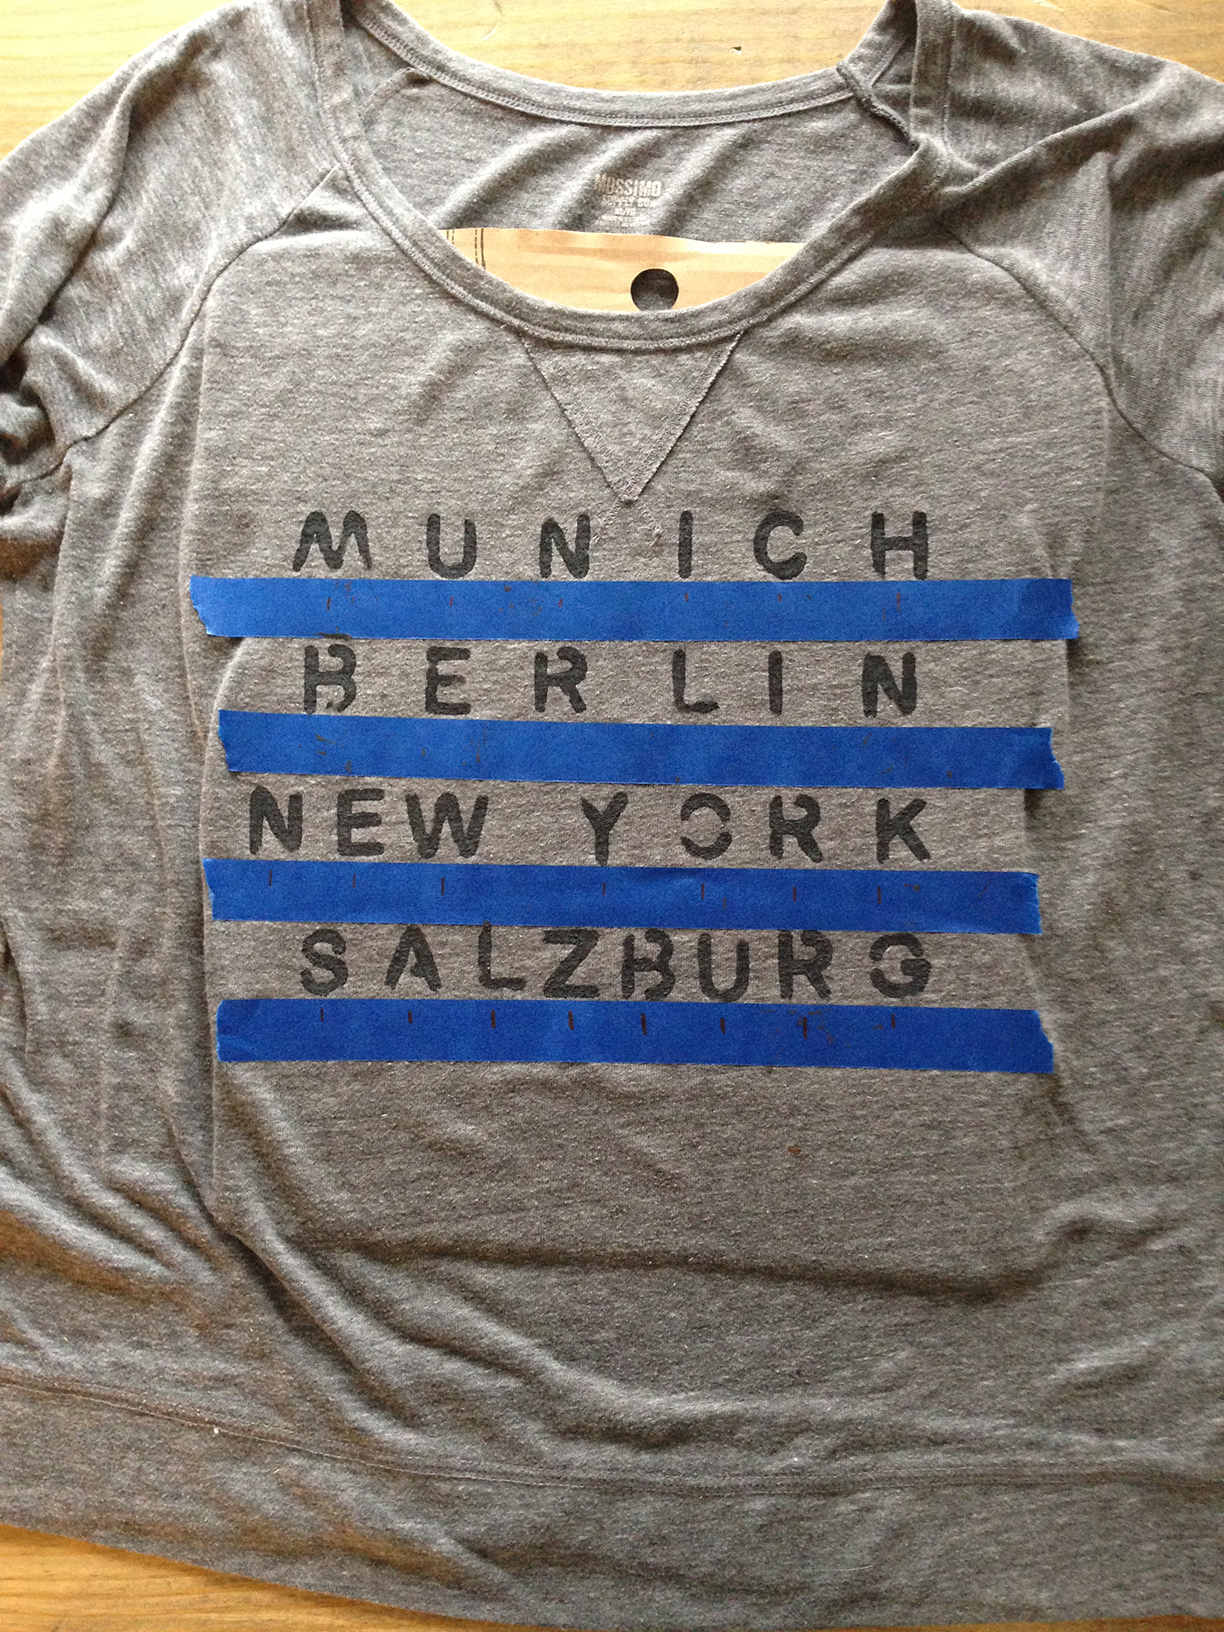
And presto! When your design is finished all you need to do is remove the painter’s tape and allow the paint to dry according to the directions for the specific fabric paint you used.
I would highly suggest always washing your new graphic tee inside out to prevent wear and fading of the fabric paint.
As always, happy stamping!
See this graphic tee as a part of my winter capsule wardrobe.