
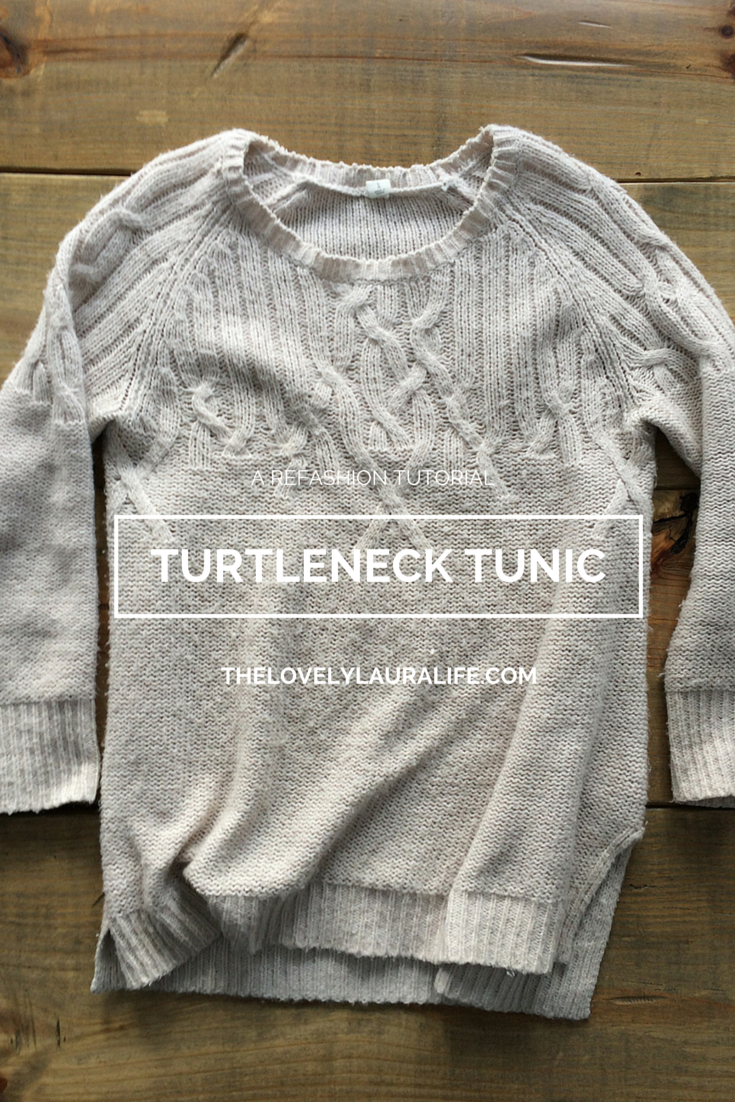
 On a complete whim last week I sat down during one of Wyatt’s naps and hacked off the turtleneck portion of this turtleneck tunic that I purchased back in November for my winter capsule wardrobe. (currently on sale!)
You see, ever since I found this pin I’ve been lusting after an ivory cable knit cardigan, that had a similar neckline, but wasn’t a true crew neck sweater, ya know? It finally occurred to me that I had almost exactly that already sitting in my closet — just with turtleneck still attached to it, lol.
I didn’t dislike the turtleneck portion, I’ve actually worn it on the blog here. But to be perfectly honest it was definitely more of a function vs. form addition to a sweater style I love and have basically worn to death this winter. All that said, out came the scissors!
A TURTLENECK REFASHION [TUTORIAL]
![Turtleneck Tunic Refashion [Tutorial] via thelovelylauralife.com](http://thelovelylauralife.com/wp-content/uploads/2015/02/Turtleneck-Tunic-Refashion-Tutorial-via-thelovelylauralife.com_.jpg)
1. Layout your turtleneck tunic, sweater, etc.
2. Unroll the turtleneck portion and lay flat.
3. Start your cut perpendicular to the edge of the sweater, then make the cut as deep as you want the new neckline/hemline to be.
![Turtleneck Tunic Refashion [Tutorial] via thelovelylauralife.com](http://thelovelylauralife.com/wp-content/uploads/2015/02/IMG_0115.jpg)
4. Once you have finished the vertical cut, rotate your sweater (for a more optimal cutting angle) and begin trimming the new neckline, all the way around the existing turtle neck.![Turtleneck Tunic Refashion [Tutorial] via thelovelylauralife.com](http://thelovelylauralife.com/wp-content/uploads/2015/02/IMG_0116.jpg)
5. You can then begin sewing up the loose ends of your sweater’s new neckline. I opted for a needle and some regular thickness thread. I would probably recommend using something a little thicker, like embroidery thread or even yarn to finish off the raw edge — if I had to do it over again simply because I think it would make for an even cleaner + stronger finished hem.![Turtleneck Tunic Refashion [Tutorial] via thelovelylauralife.com](http://thelovelylauralife.com/wp-content/uploads/2015/02/IMG_0117.jpg)
6. To finish the raw edge, I simply looped the needle and thread connecting the raw fringe-y sections by hand. Sounds pretty time consuming but I was done with everything well within one hour. There are several other stitches that would get the job done, but I recommend just trying out a few and finding the right one that will create the most secure hem — depending on the specific material of your individual sweater ;)![Turtleneck Tunic Refashion [Tutorial] via thelovelylauralife.com](http://thelovelylauralife.com/wp-content/uploads/2015/02/IMG_0118.jpg)
7. And voila! A totally new-to-you and truly unique sweater, complete with a handcrafted look.
DIY refashions are an easy way to refresh or improve upon an already loved piece in any wardrobe (capsule or otherwise). Have any other “hacks” to share that keep you loving your wardrobe?