
Whether you are using a DSLR or even just your camera phone (what I use the majority of the time), there are still plenty of techniques that you can use to shoot pictures of your kids (or anyone for that matter) and to do it like a pro.
Of course I’m no real pro, I mean I don’t get paid to take pictures on a regular basis. But a few classes here and there, a lot of reading + viewing and even more practice — and I feel like I’ve figured out a few tips to share that help answer question I seem to keep on getting… “Now how did you get that picture?!”


1. Crop
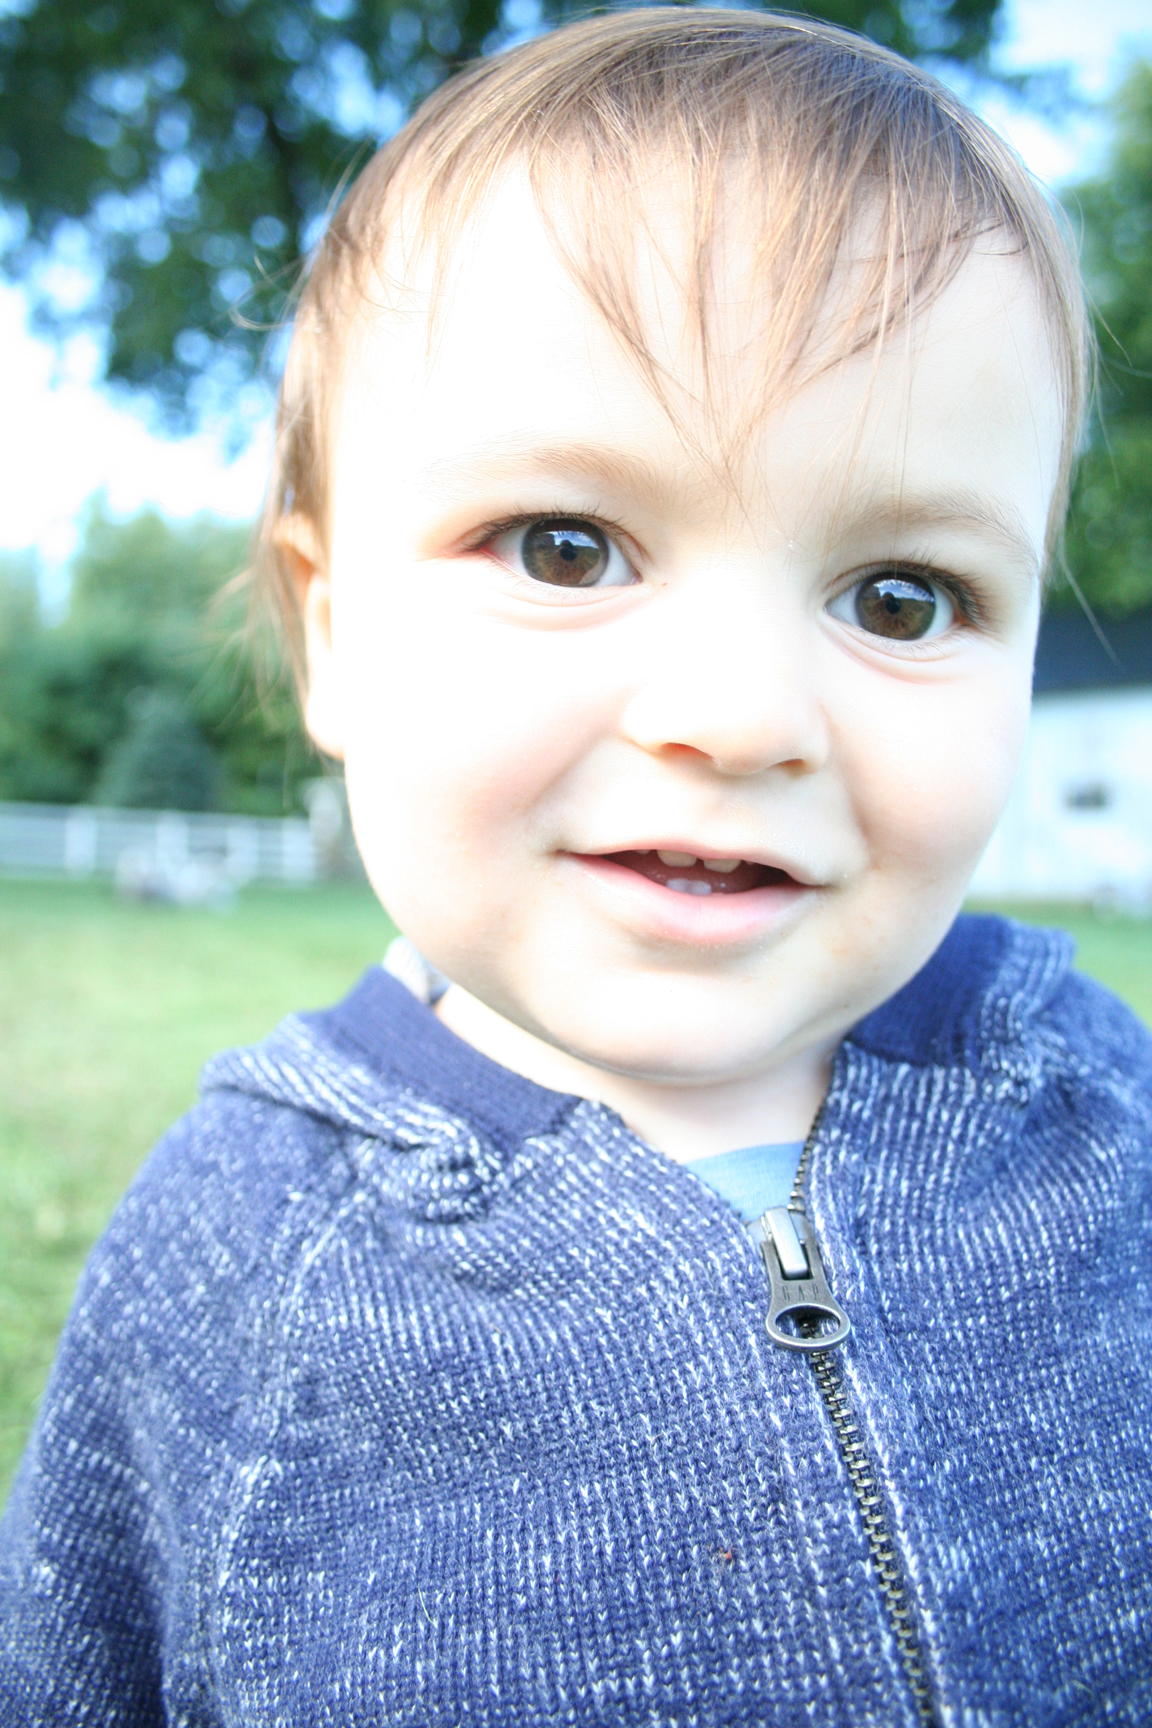
Cropping, whether narrowing or widening the frame, in a different way than expected creates visual interest. I particularly like to crop in a way that narrows what you would usually expect to see in a shot. It captures detail and almost makes the shot sort of abstract looking.
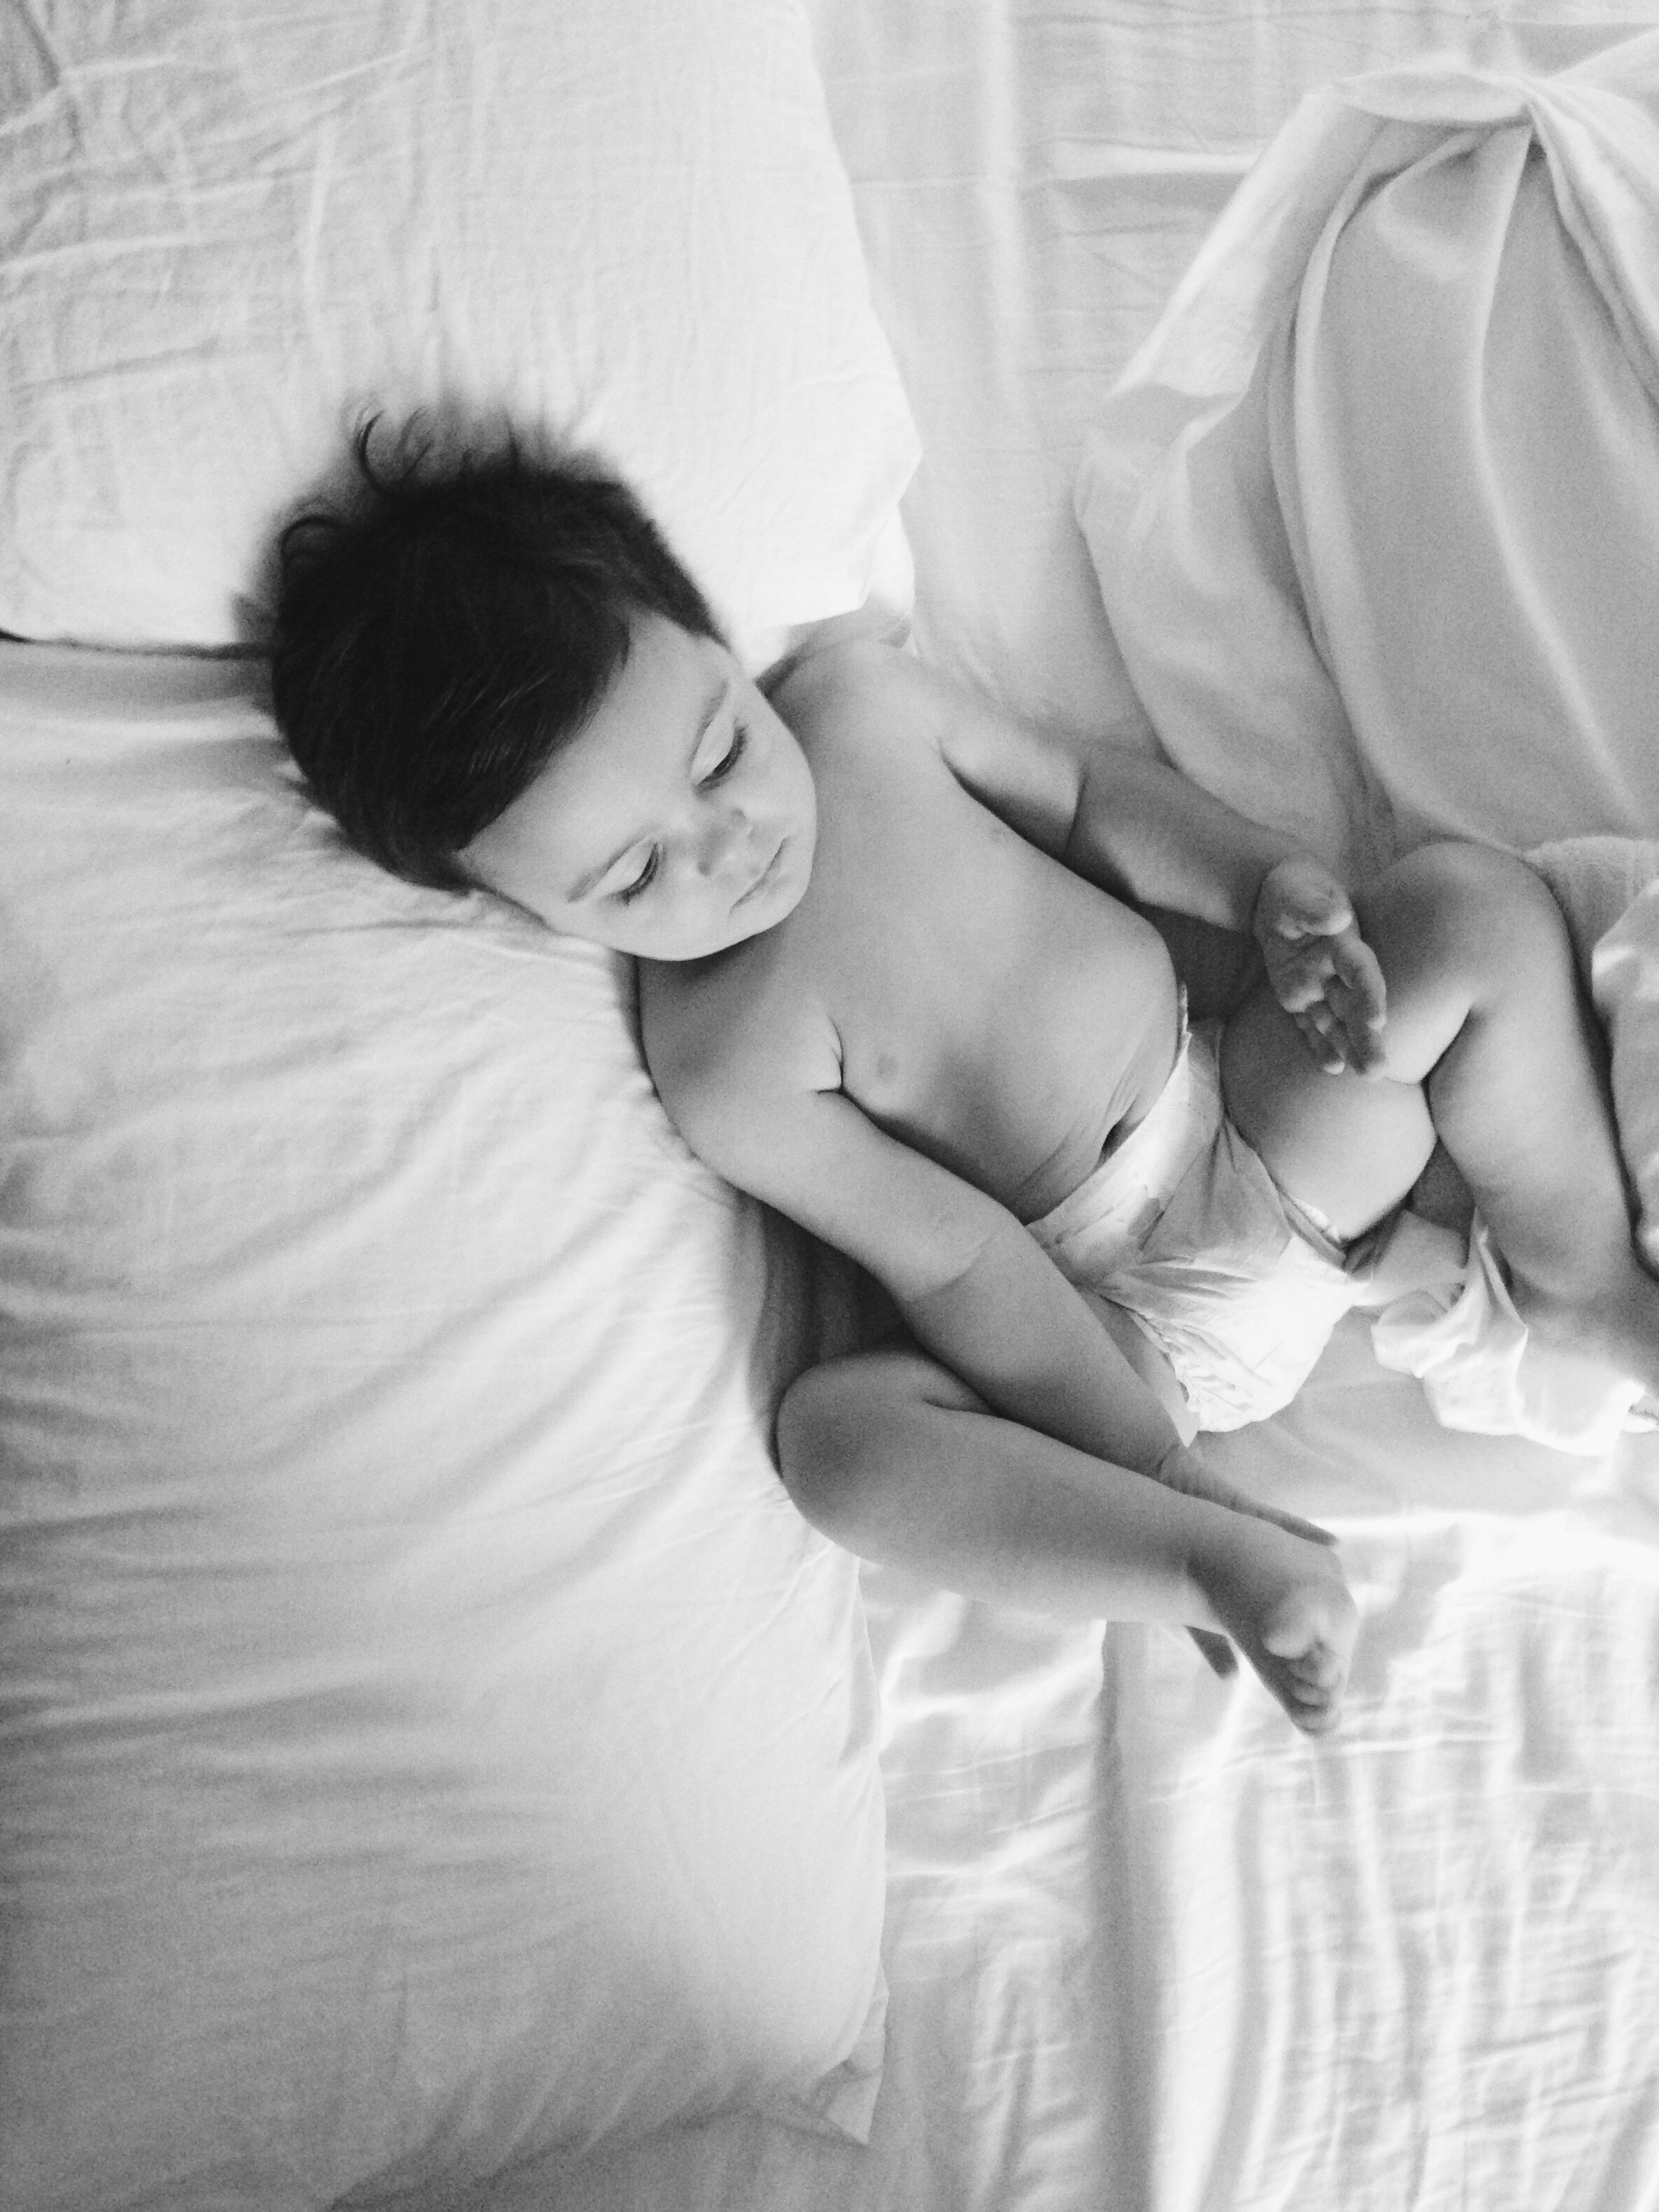
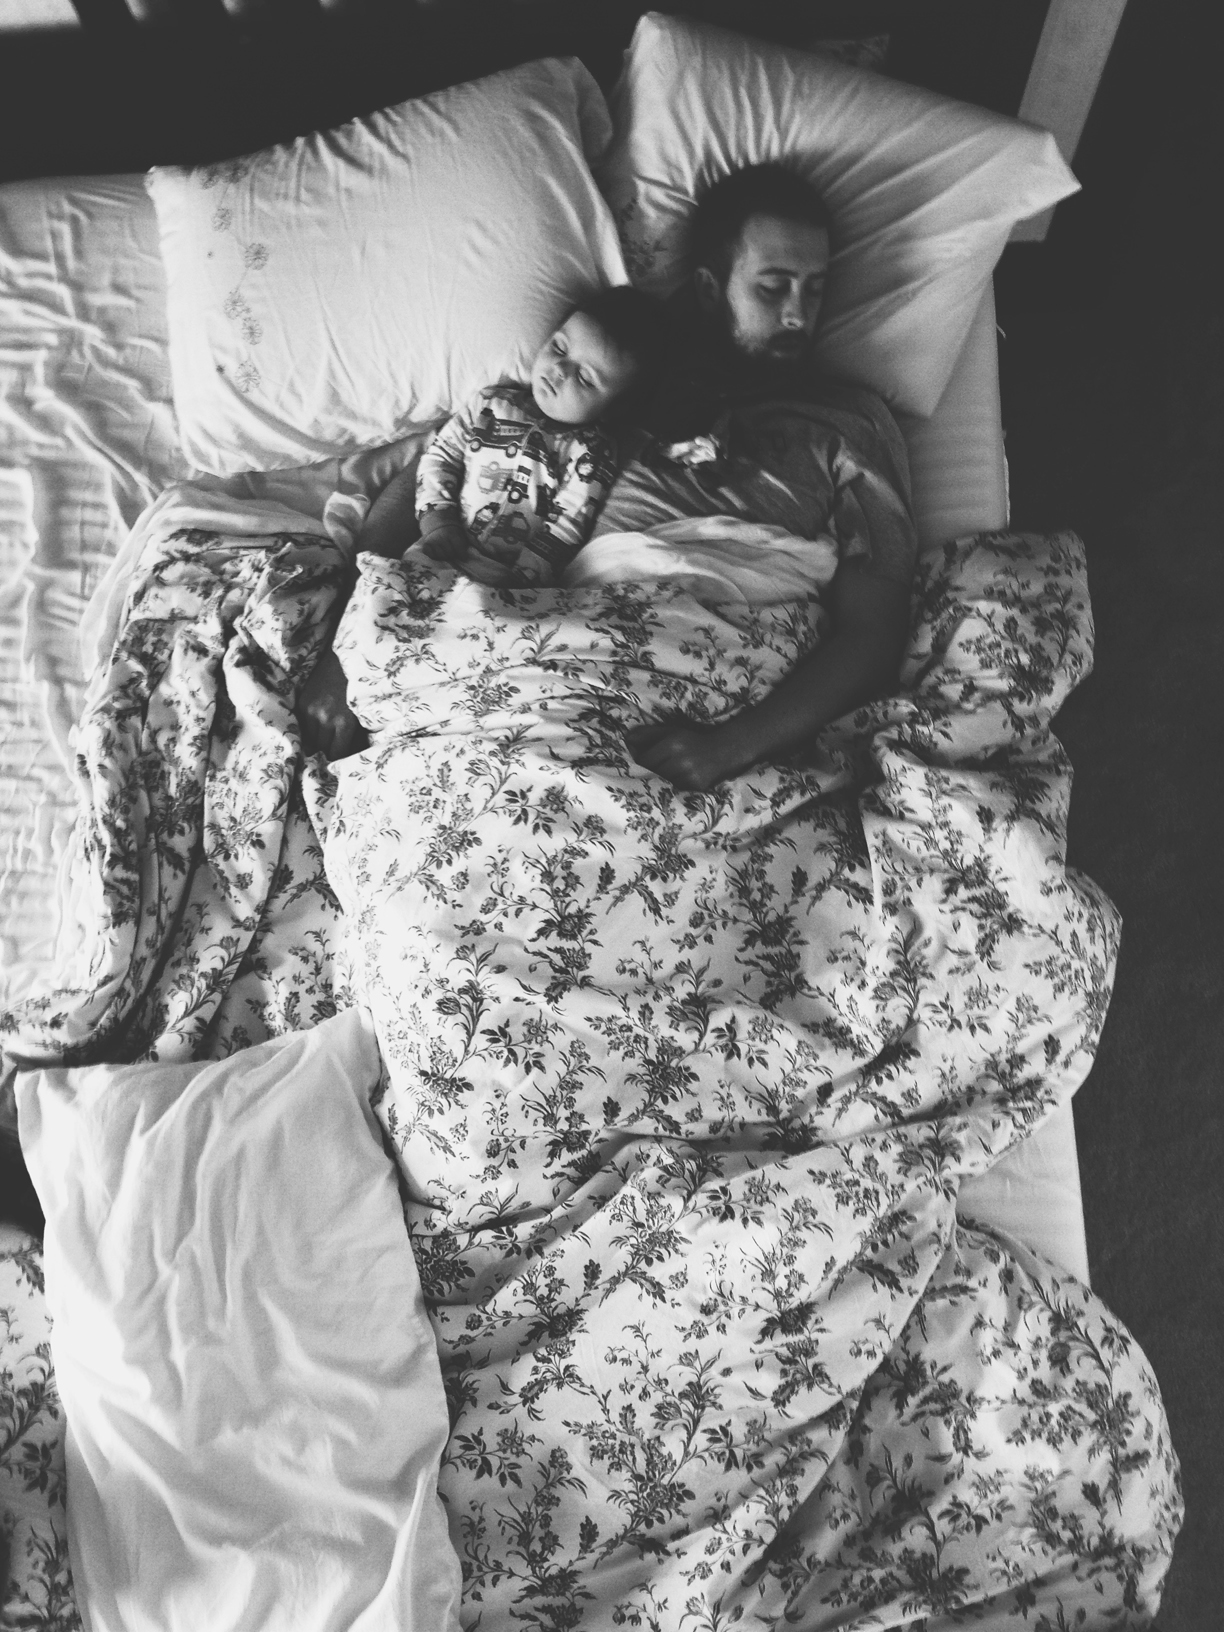
2. Shoot high
Perspective always adds interest to photography. Creating the illusion of a bird’s eye view is always intriguing. In the case of the first photo, I was merely standing beside our bed while my son lay flat on it — so there was no climbing up on things to capture the moment.
In the second picture however, where Nick and Wyatt are still fast asleep in bed, I ninja jumped onto the chest we have at the foot of bed. Successfully elevating myself to grasp a wide enough frame to get this shot — which is a total favorite of mine! Sometimes I wish there was someone there getting a picture of me getting these ridiculous angle photos… ;)
Another option here would be the worm’s eye view, where you get underneath something or low enough to create the same interest with the opposite perspective or viewpoint.

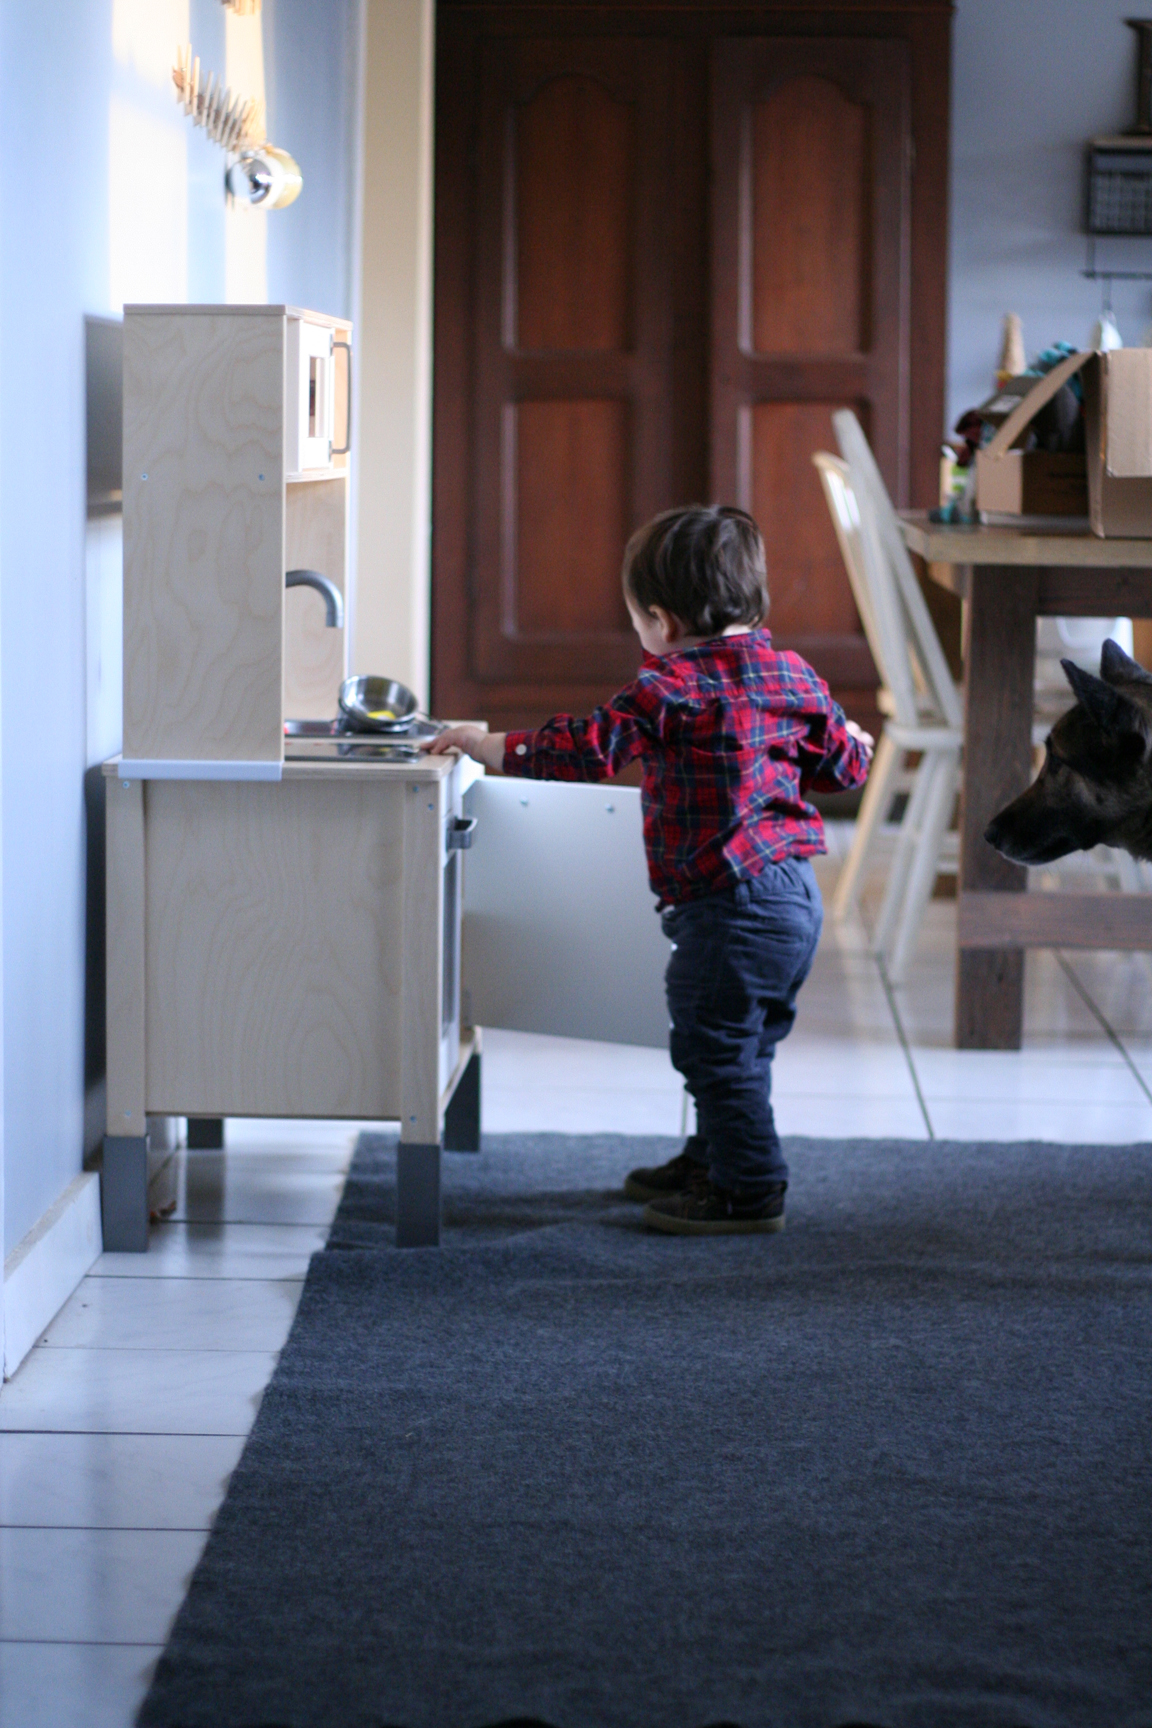
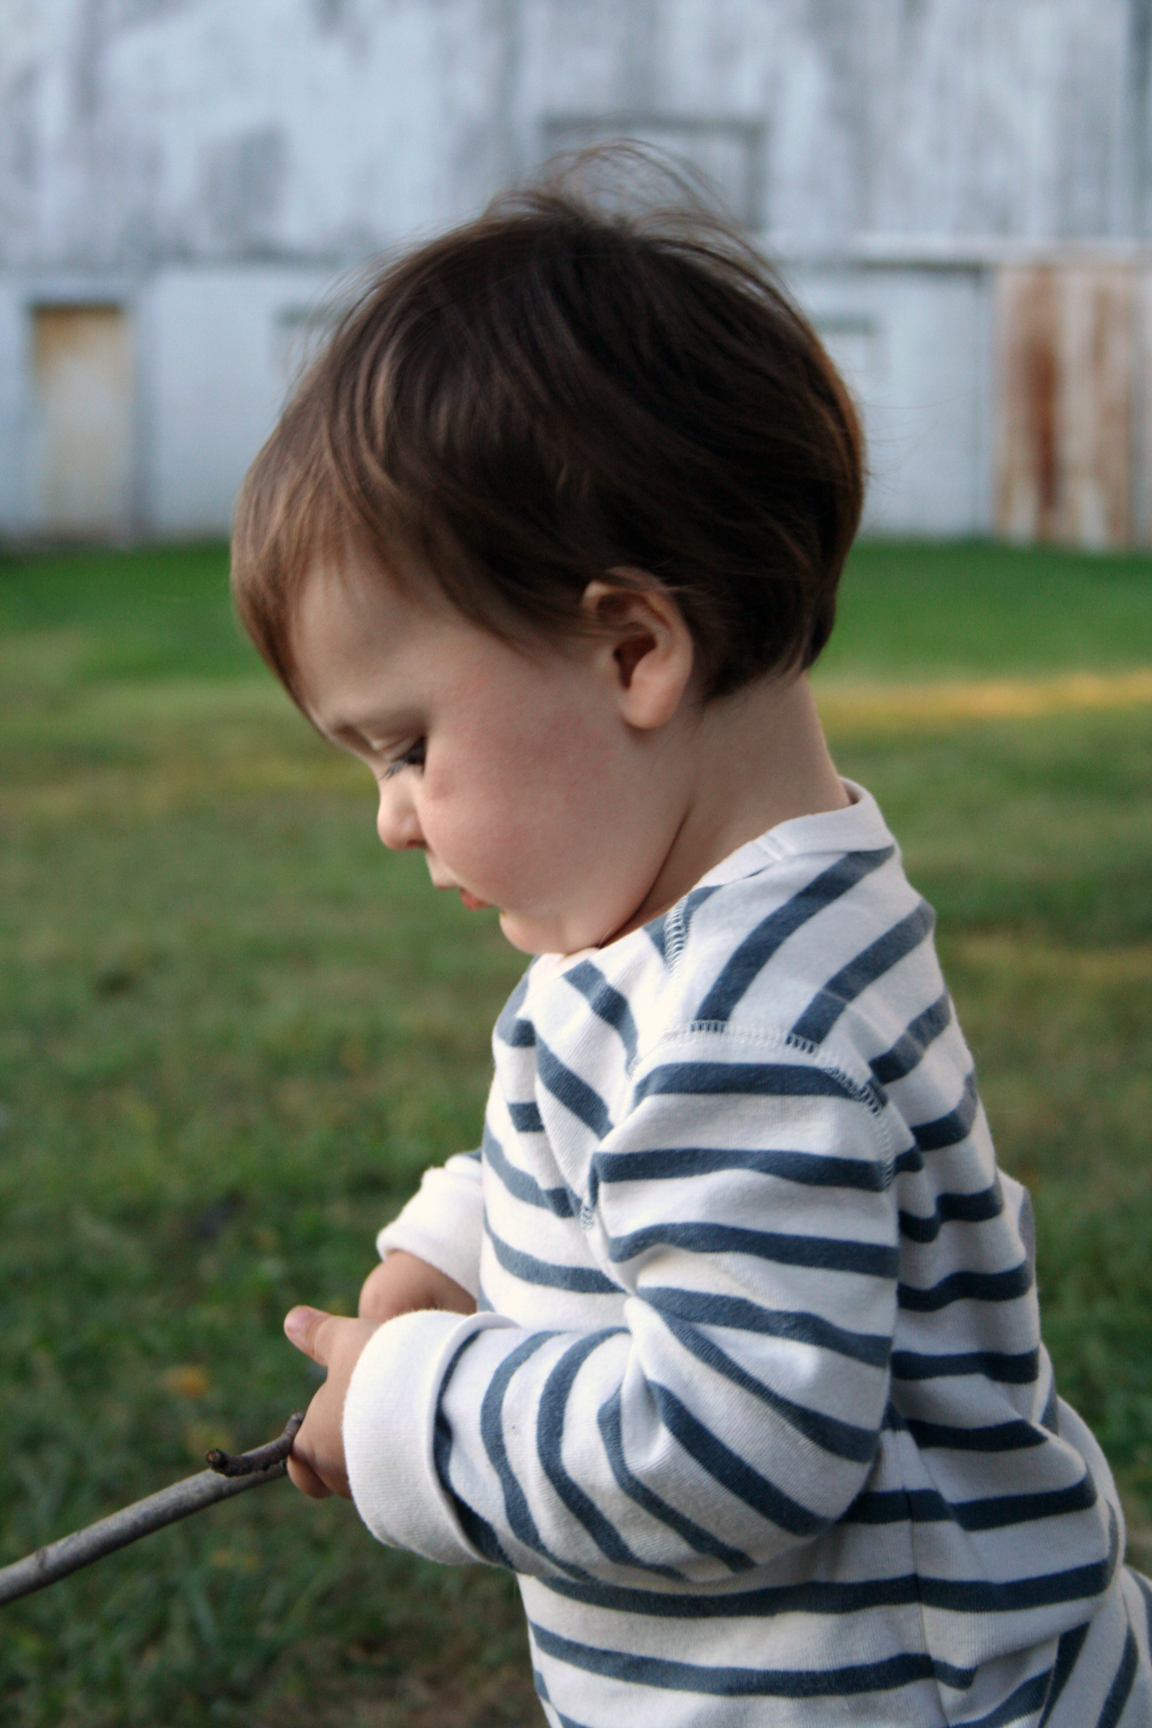
3. Crouch
Pretty self explanatory here: when shooting pictures of kids, they are naturally lower to the ground than you are. In order to avoid every picture being pointed somewhat down at them — you have to crouch. Get more on their level, you know? A small change with a big pay off in my book.

4. Now get even lower
Squat completely. Sit on the ground. Lay on the ground. Put your camera itself directly on the ground. All of these ways are sooooo much more interesting than just standing at your normal height and snapping a photo.
Are you beginning to get the impression I kind of make photography a work out? :)
5. Take a step back
In the same way cropping in close creates visual interest, so does moving away from your subject. Sometimes it’s even fun to allow other objects to peek in at the foreground of your frame — allowing for a greater depth of field to be captured.
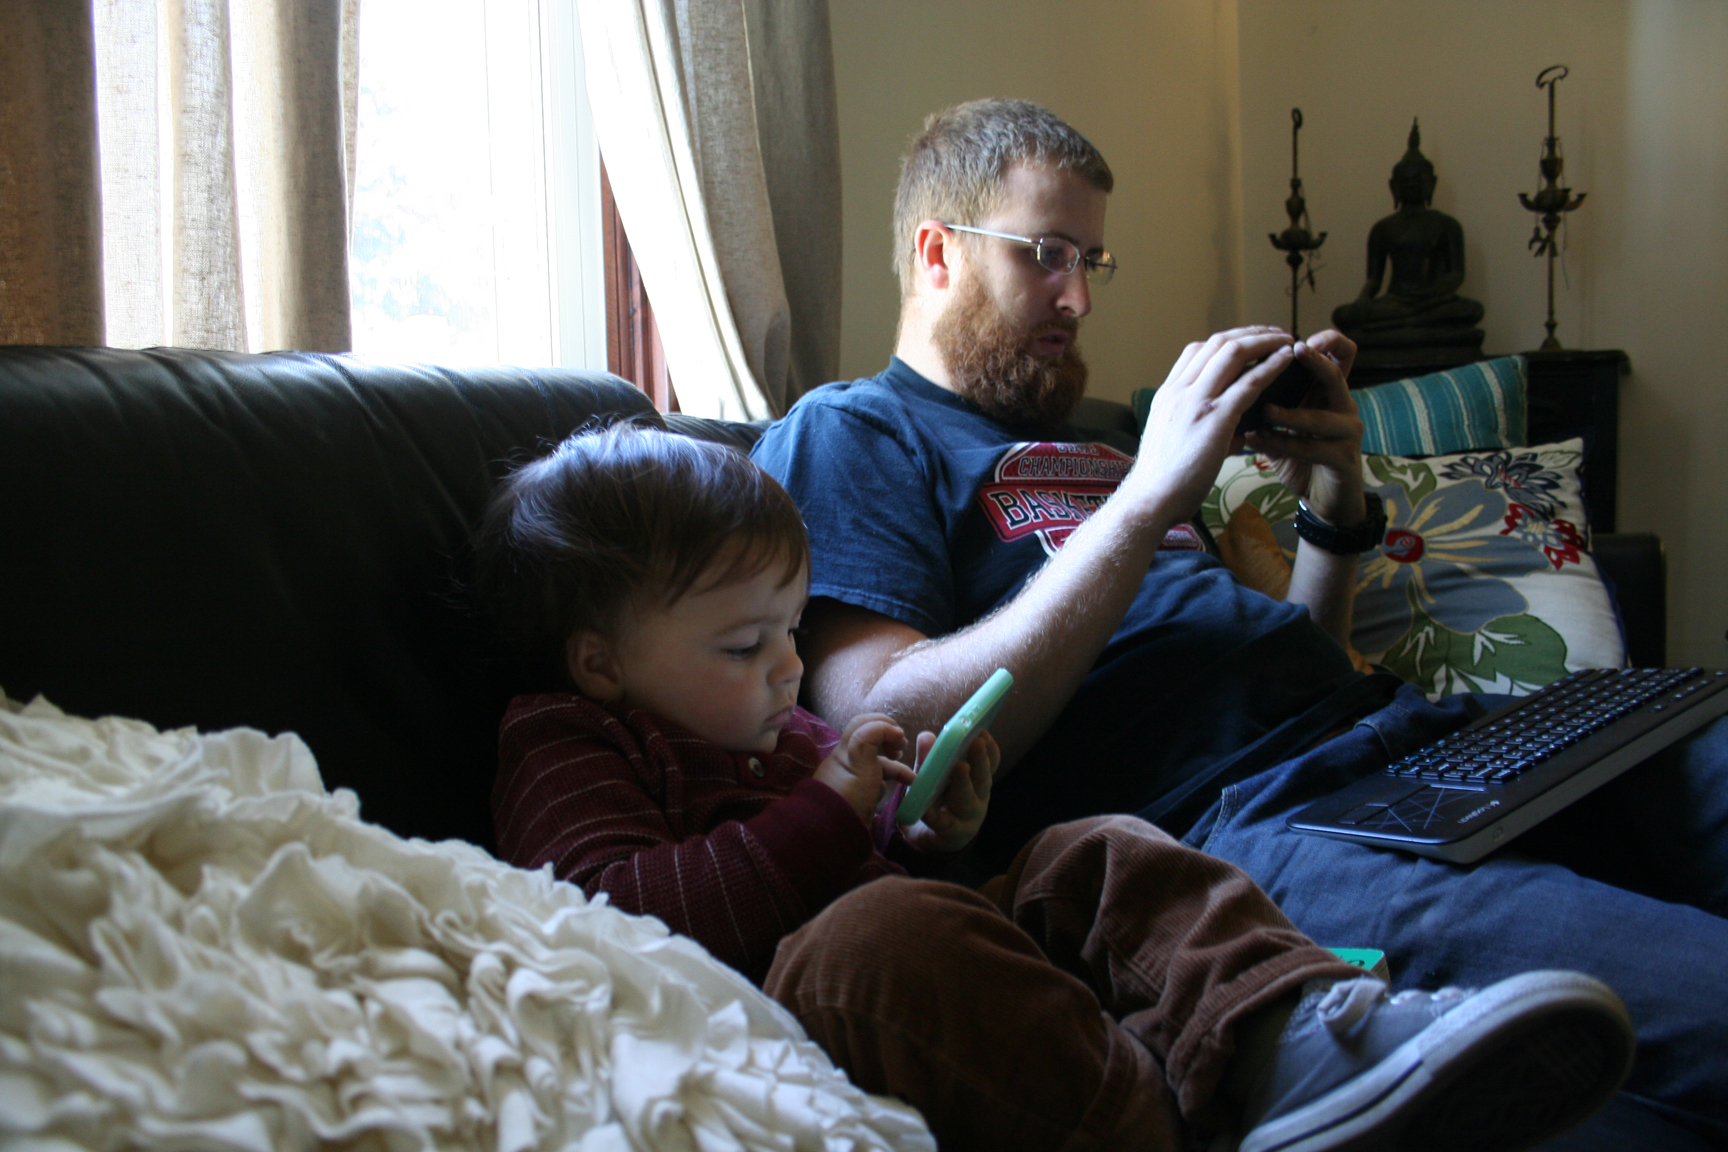
6. Forget flash
These two photos perfectly identify (in my opinon) what is so visually unappealing about flash. As well as how sometimes just forgoing using flash may make for a slightly darker + grainier image, but overall a more aesthetically pleasing one.
Sometime images that are otherwise ordinary without the use of flash make for awesome moody black and white images.
And of course in the case of photographing our littles, negating flash and allowing for some blur to occur truly captures the essence of the moment. Because, when do they ever really sit still?


7. Wait for it
A lot of times in photography (especially with little ones) it’s all about moving yourself where you need to be and when you need to be there to get the shot. Other times it’s about practicing patience and letting the shot come to you. Just being in the right place, at the right time annnnnd…. #waitforit
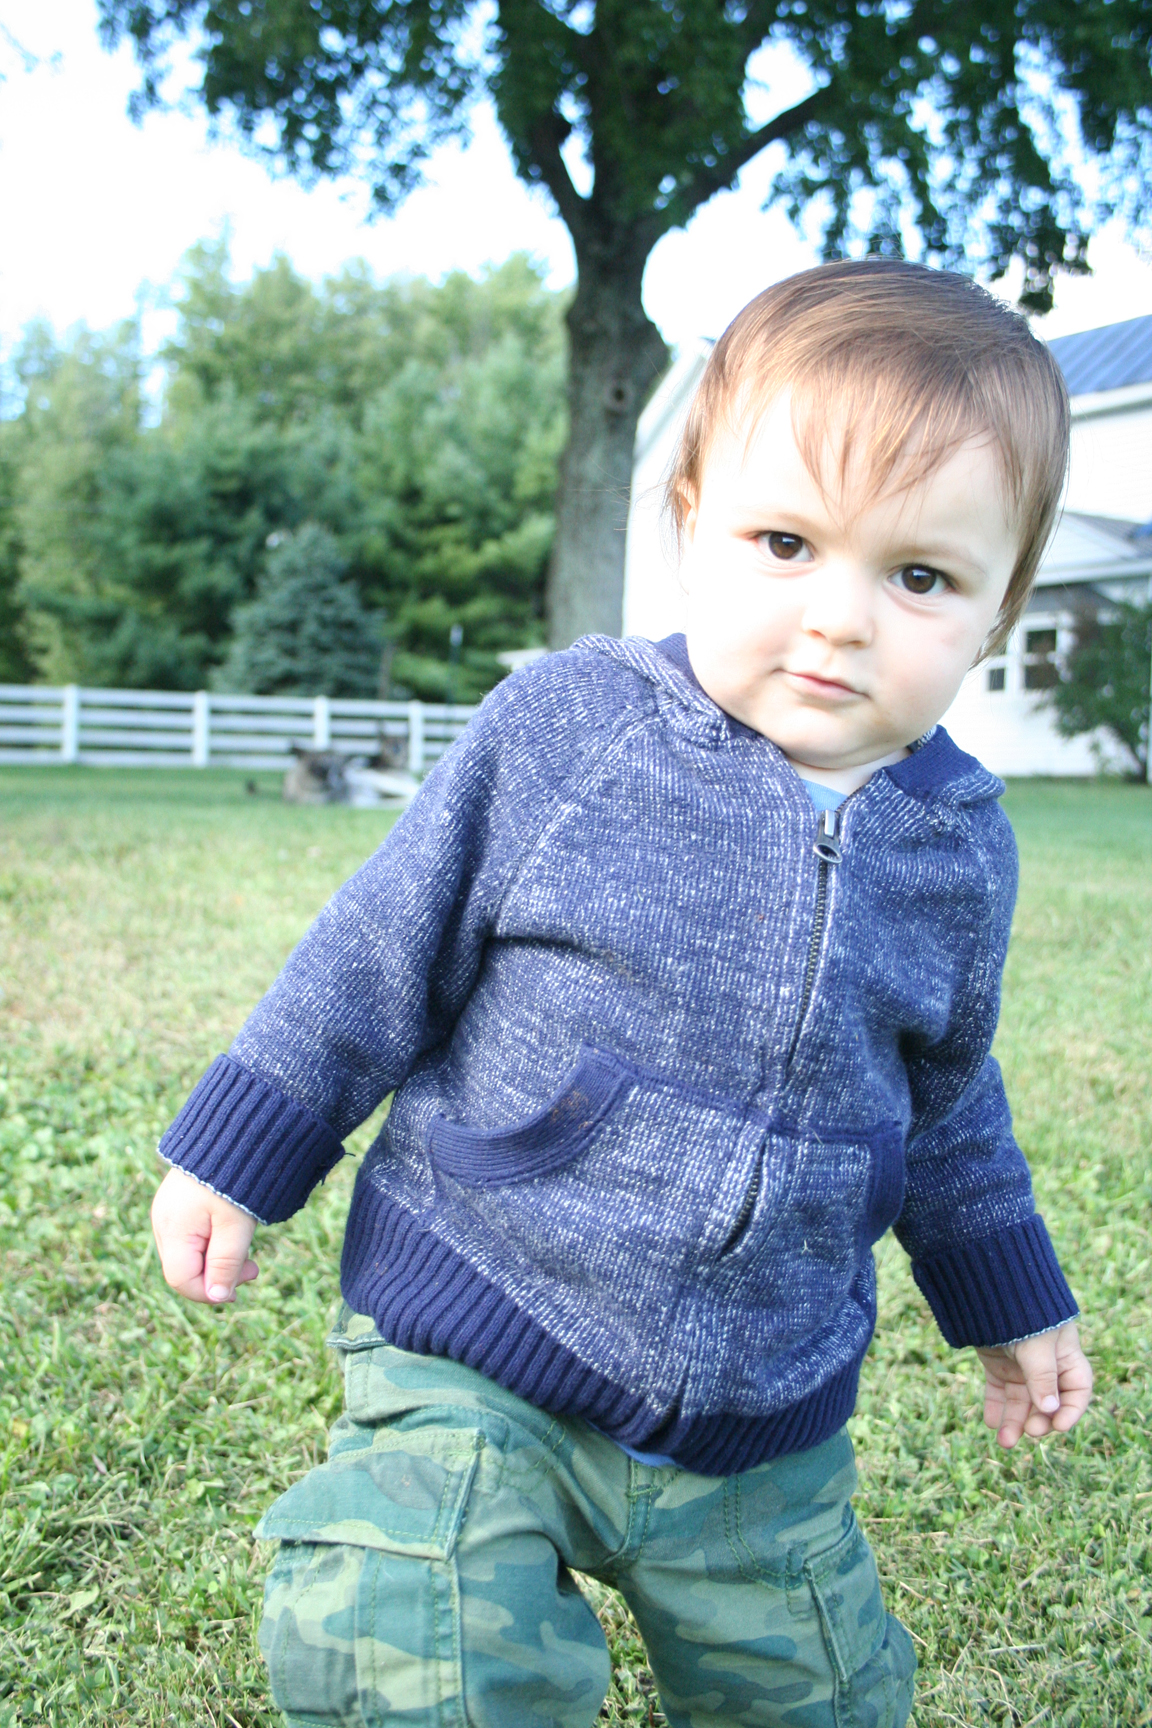
8. Take it outside
I would argue that taking photos of your kids outside it by far the best place to start. There is so much room to move around and experiment. Not to mention that spaces are typically much wider open — again allowing for more depth of field to be captured, and the more professional quality you’re after.
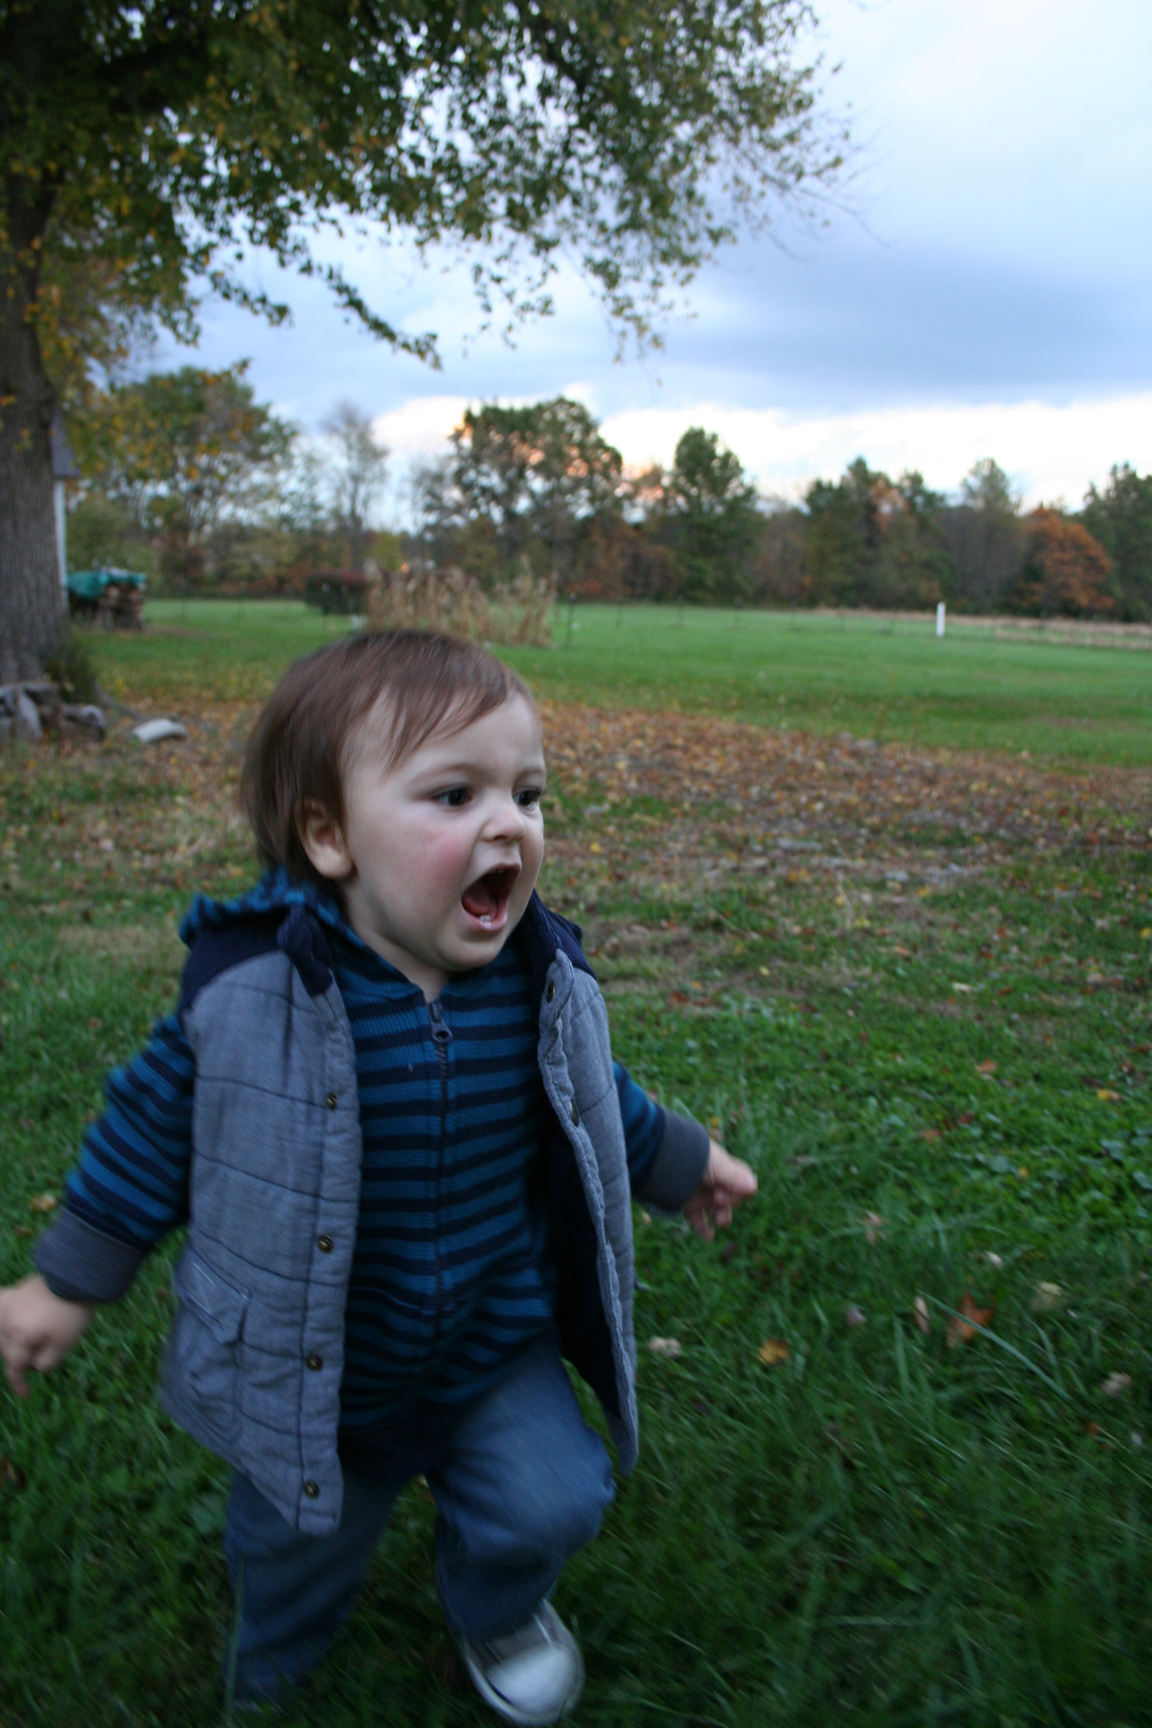
9. Timing
Sometimes waiting for it works (like talked about above) and other times you’ve got to be quick on your feet and snap about 25 photos as something awesome goes down to the the shot. Be prepared and be fast!
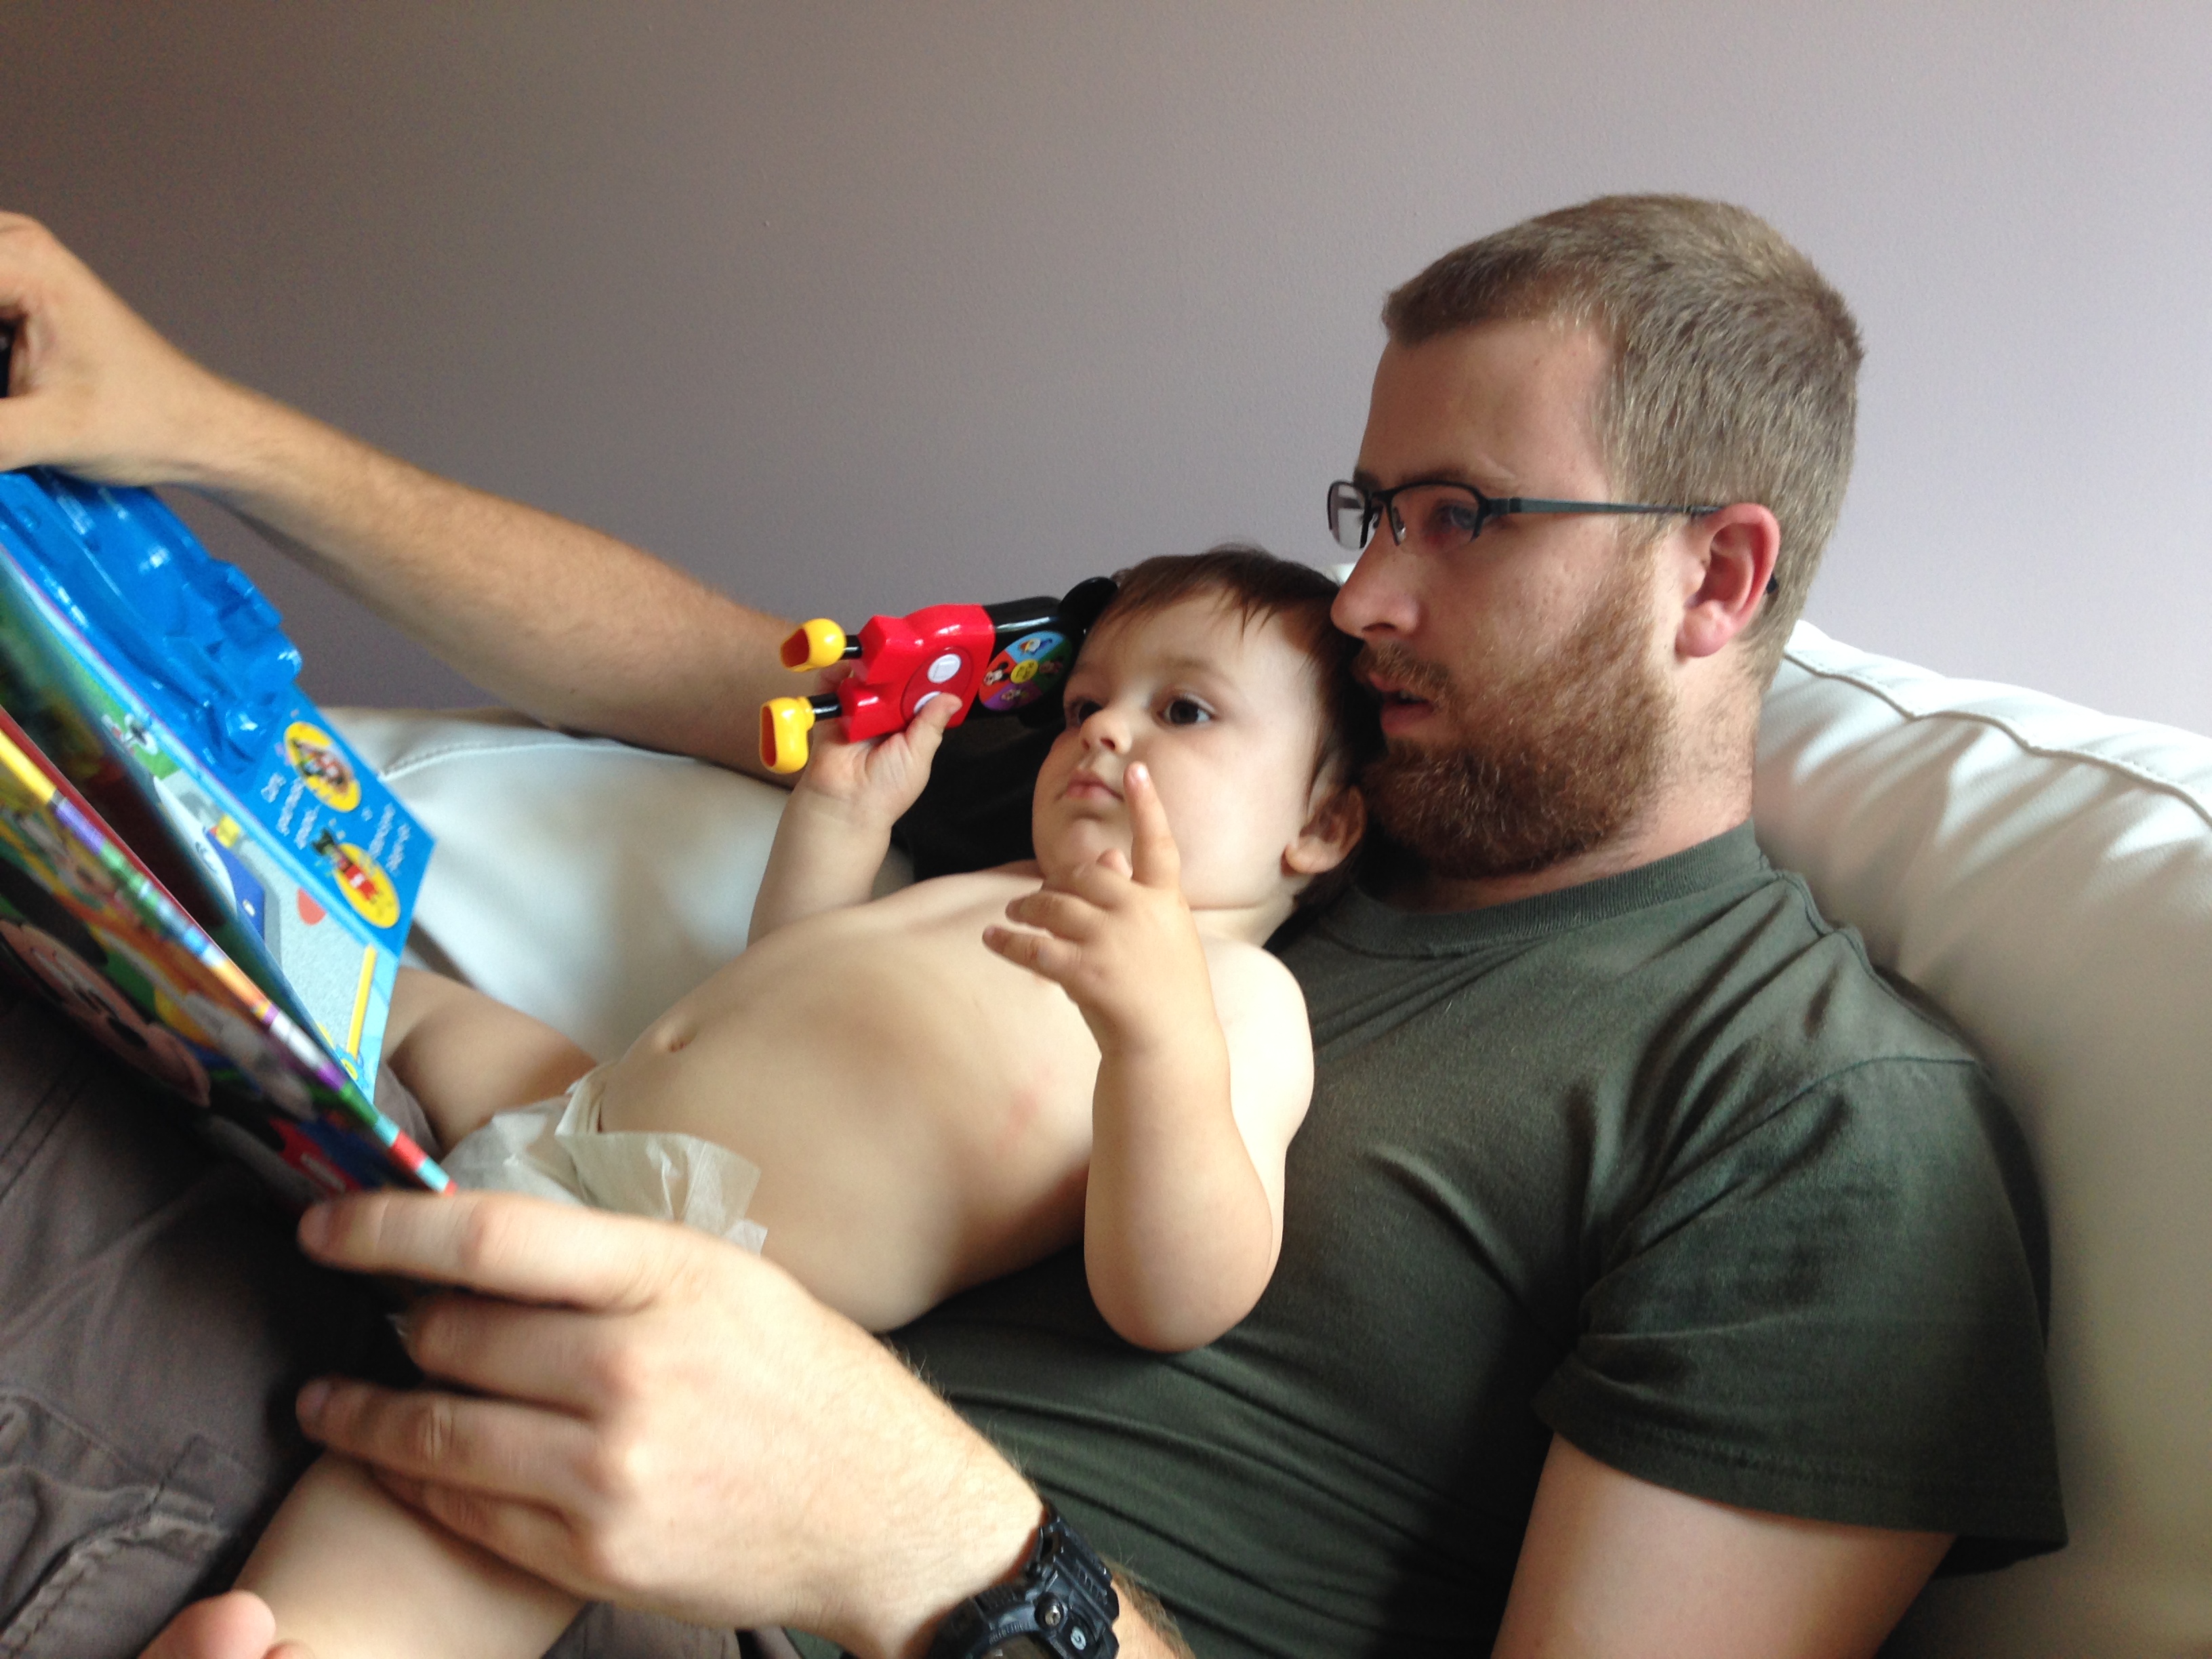
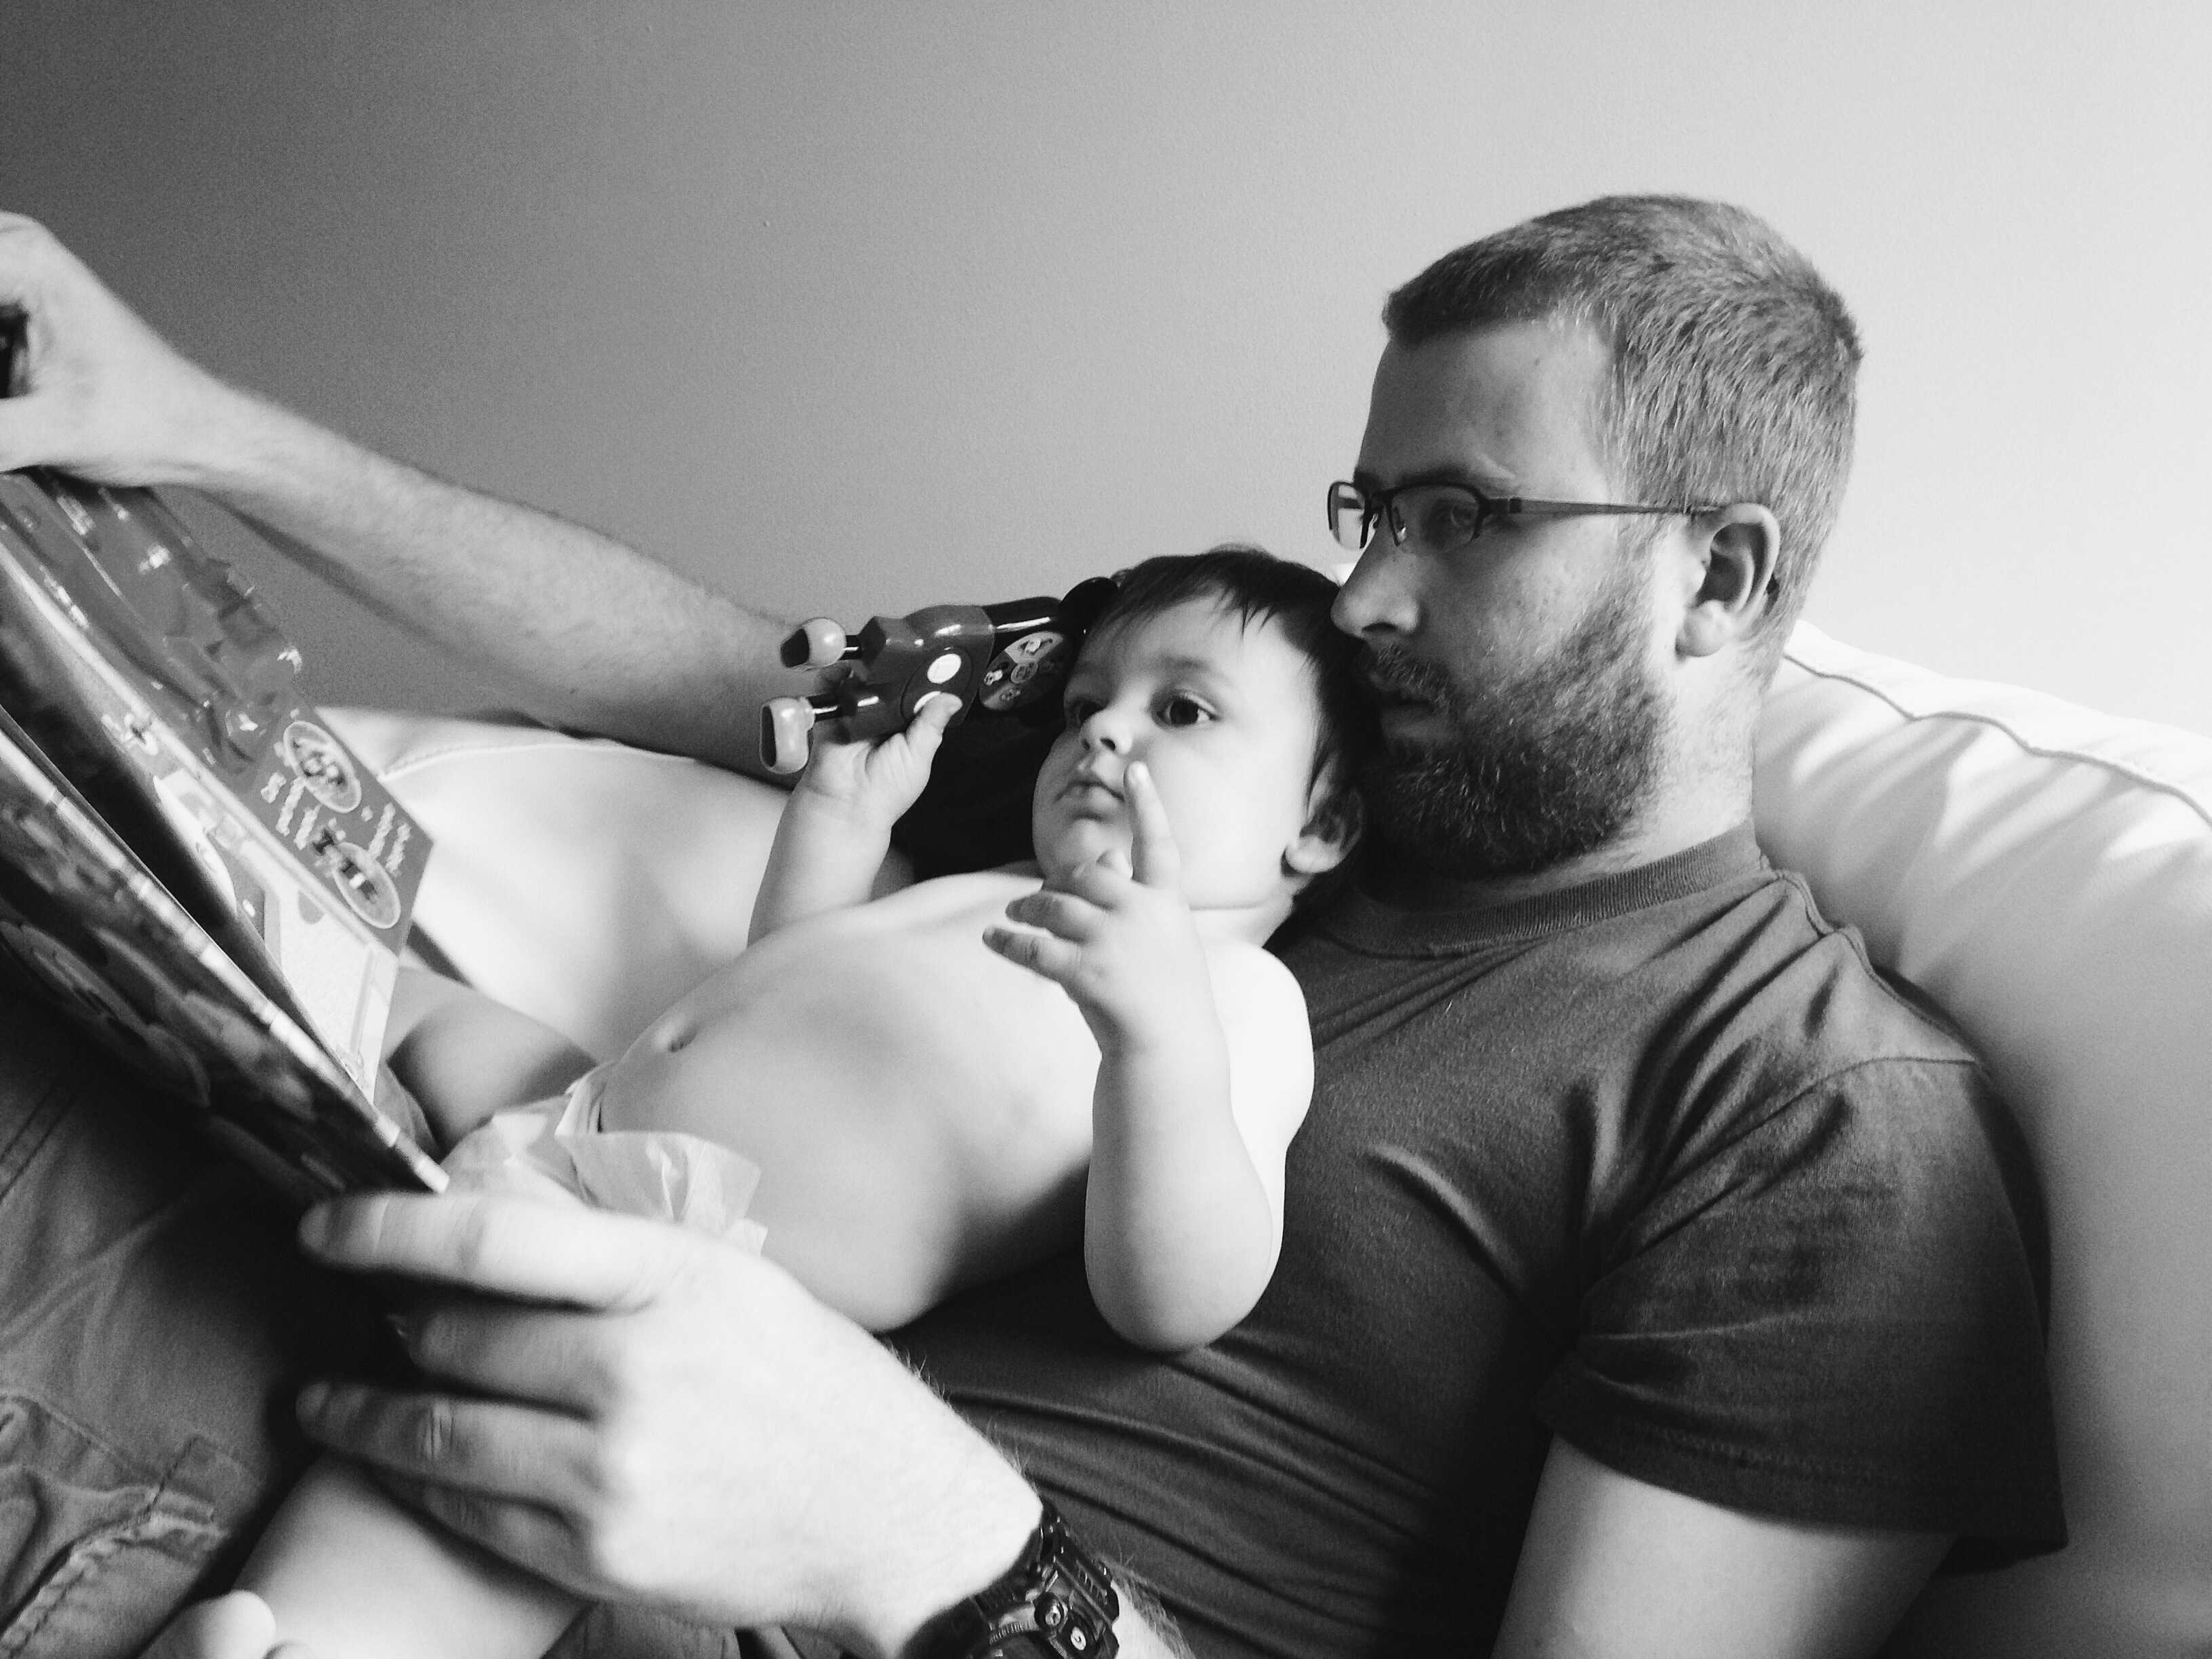
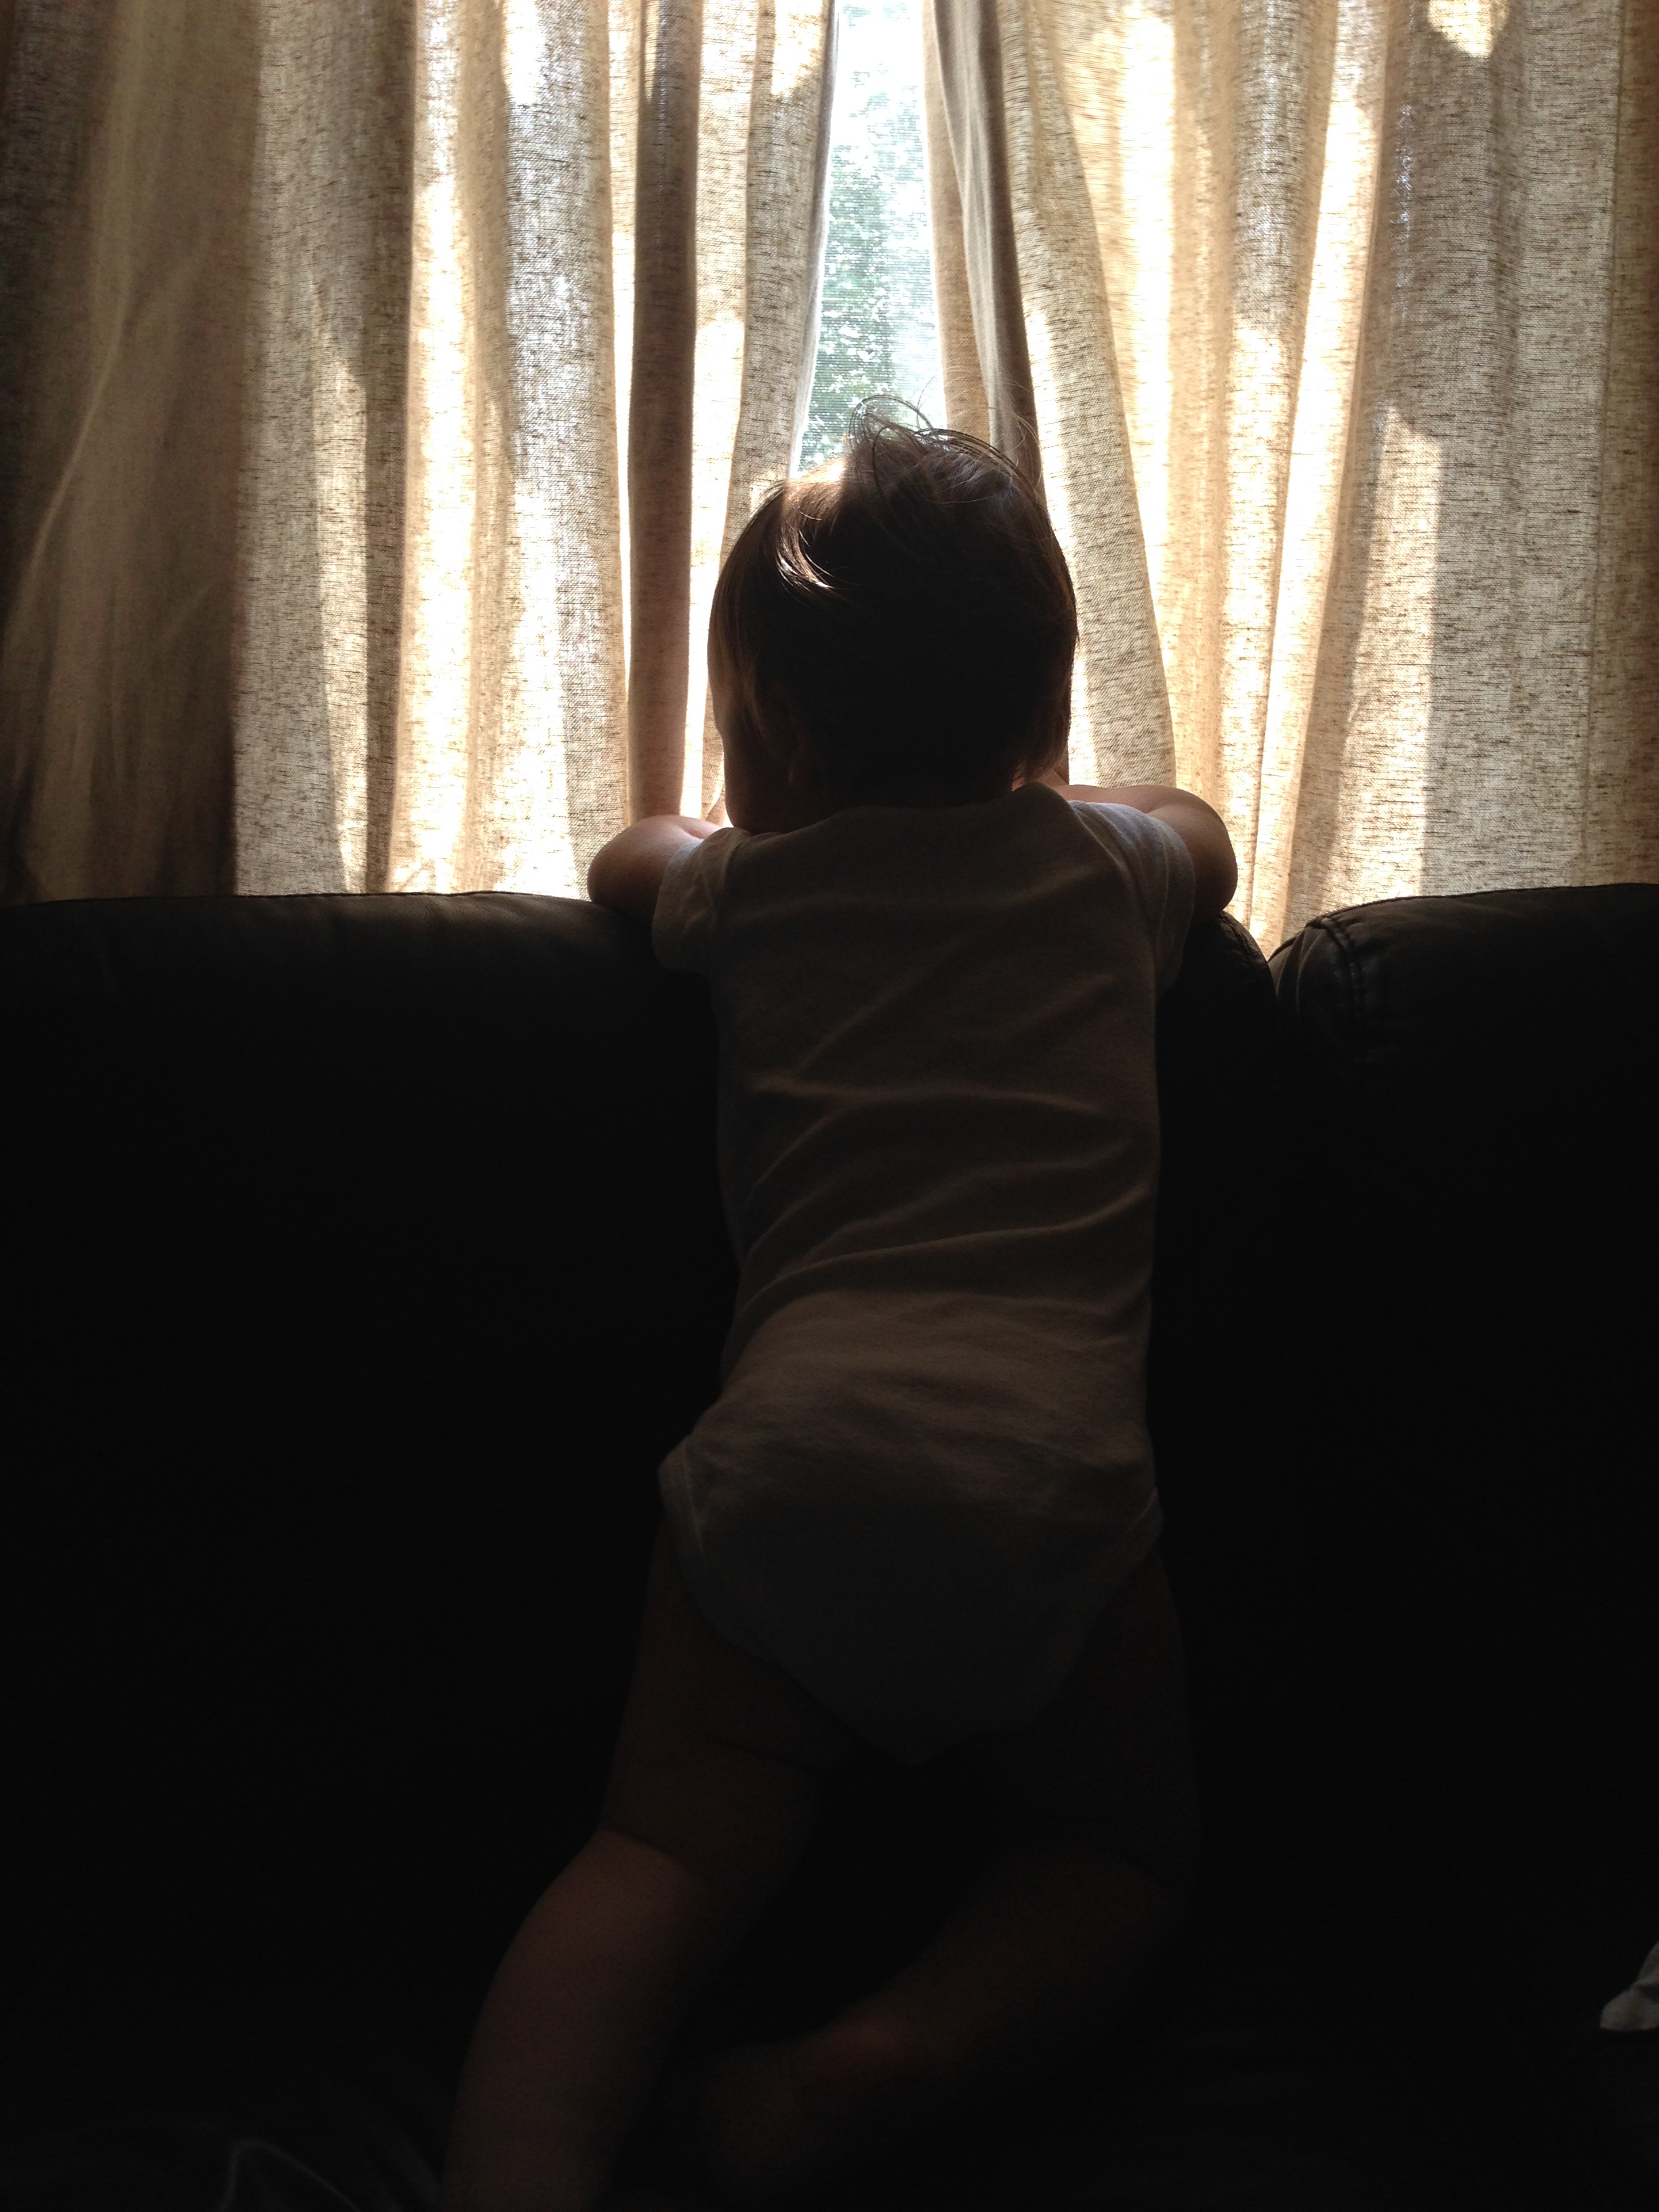
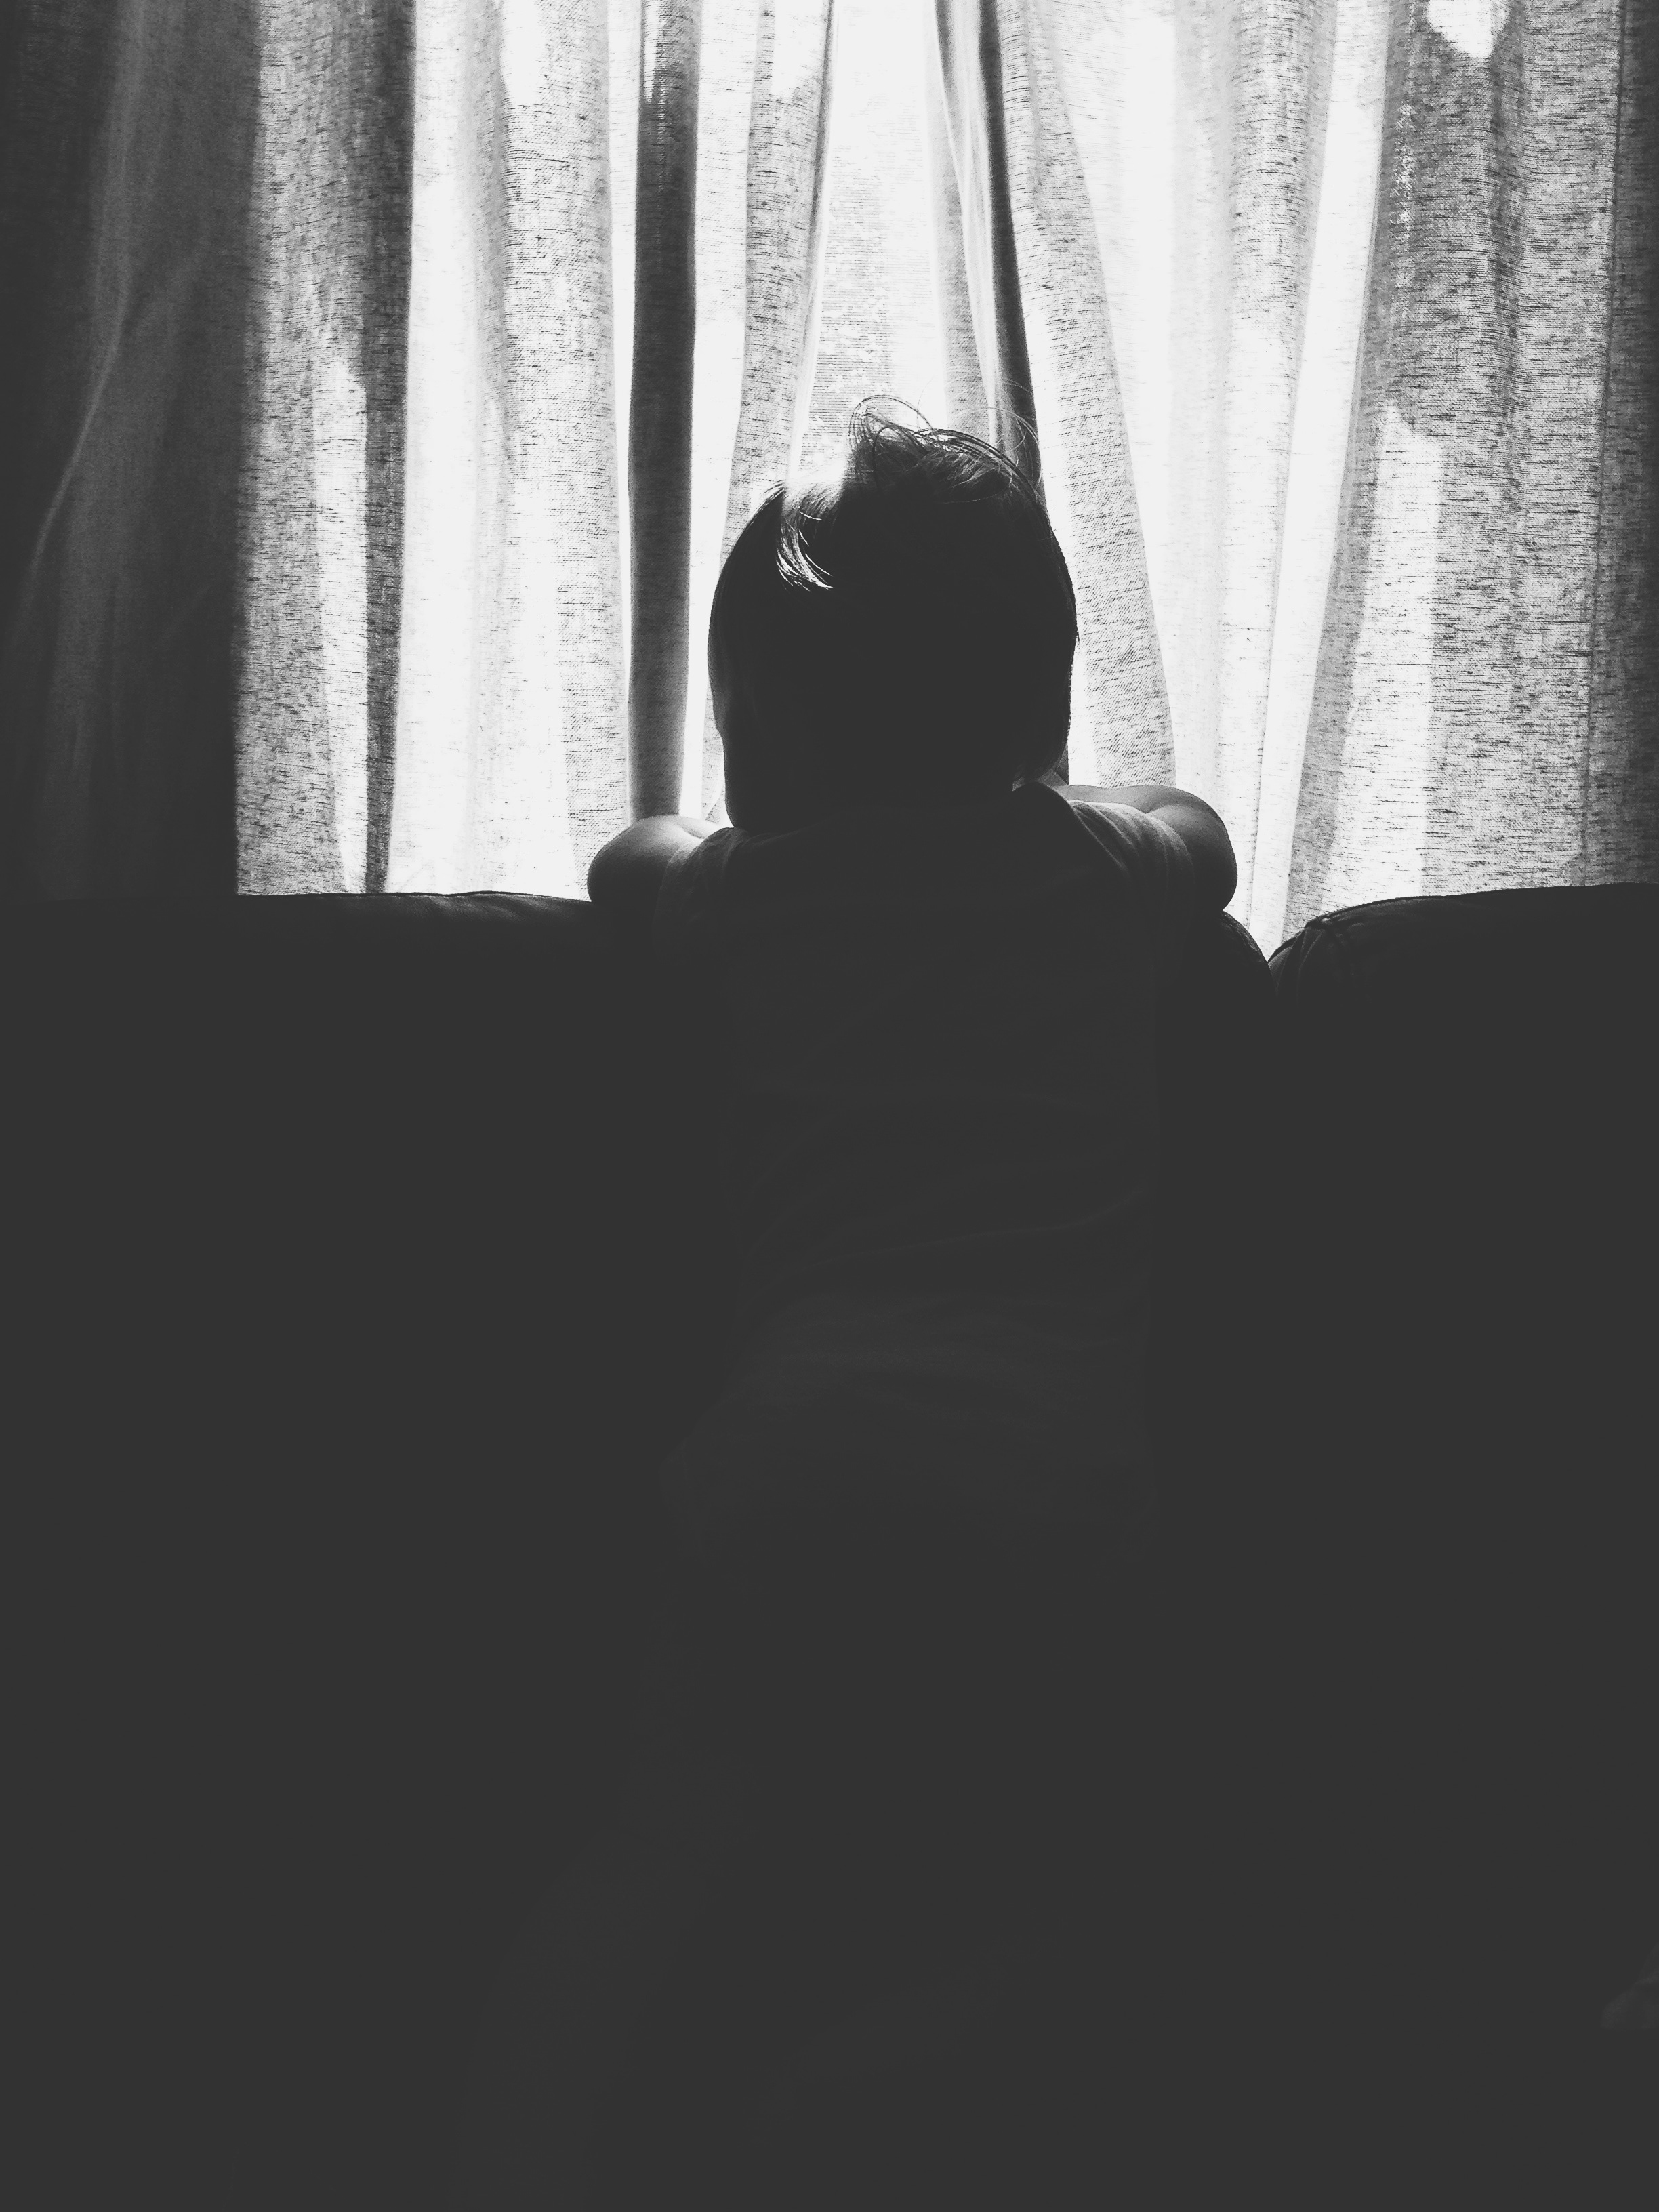
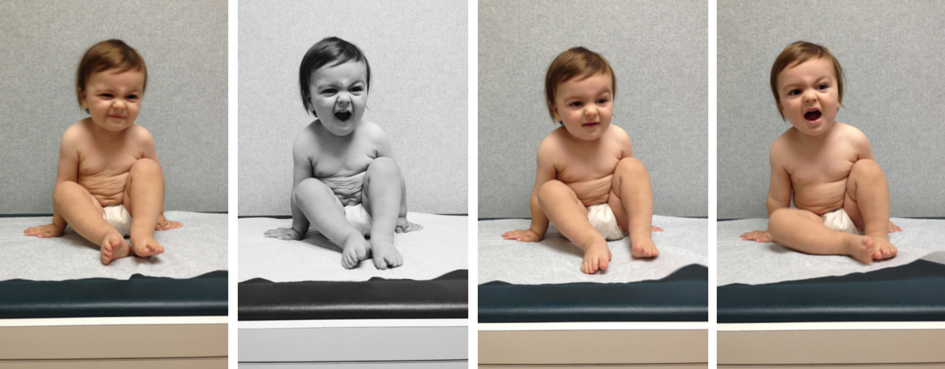
10. Edit minimally
If you know me, you know that I’m a naturalist. I don’t like overlaying a ton of effects + filters, etc. to get a photo to look a certain way. I’m a fan of correcting exposure (maybe even overexposing a little bit to get really bright whites) and that’s pretty much it. I am however a fan of black and white filters. In the case of these two photos (the first the original + the second the edited verison) I feel like original is a good photo… but the second? The edited version? It’s a great one. One that evokes a lot of emotion and soul. One that I view to be timeless. So edit, but minimally so.
—————-
I use Photoshop when on my computer and exclusively when editing photos taken with my DSLR… but I honestly use VSCO Cam (a phone app) to edit most of my photos anymore — considering most of them are already on my phone. The app allows for you to edit things like: exposure, contrast, add things like vignettes and sharpen images. Among a million other things. I equate it to Photoshop for your phone. There are of course a slew of filters (like those of Instagram) but I only like a couple of them — largely the black and white ones.
And there you have it! Any tips you’d add or challenges you’ve faced that I didn’t cover?